Vault and Vault Items
Vault
A Vault is a place where you can securely store your Vault Items. By default, you'll have a Private Vault for personal use, where you can store all your personal data. For most users, a single vault is sufficient as it can store infinite number of items. There are various ways to organize and find the items within it.
Create Vault Items
When you open your Vault for the first time, you'll see an empty list because you haven't added any Vault Items yet. To add a Vault Item:
Click the + icon in the top right corner.
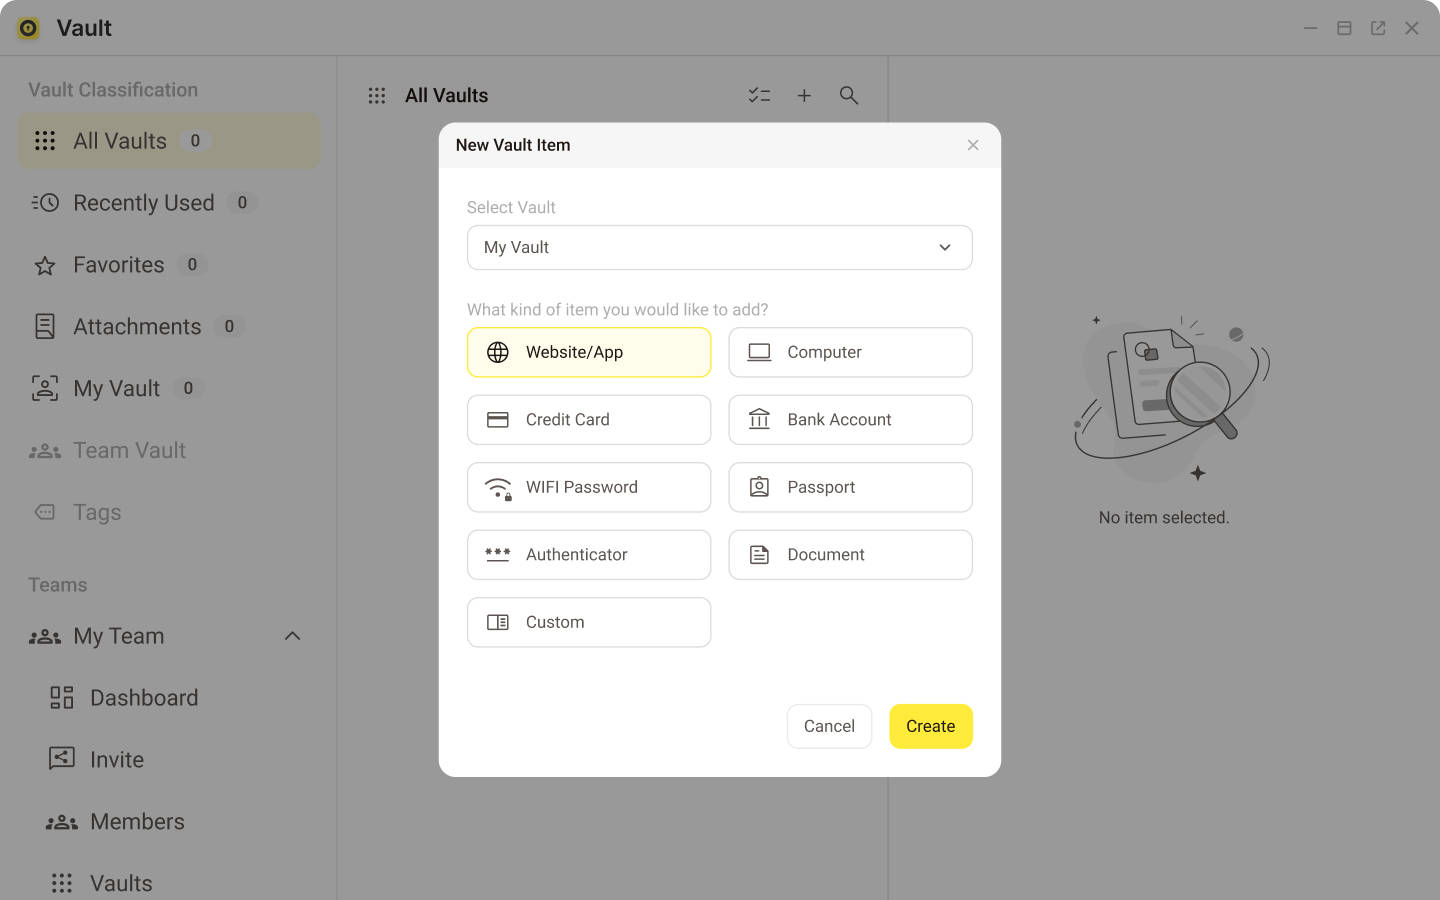
Select a Vault Item type. For example, let's select the 'Website/App' type for storing app account details.
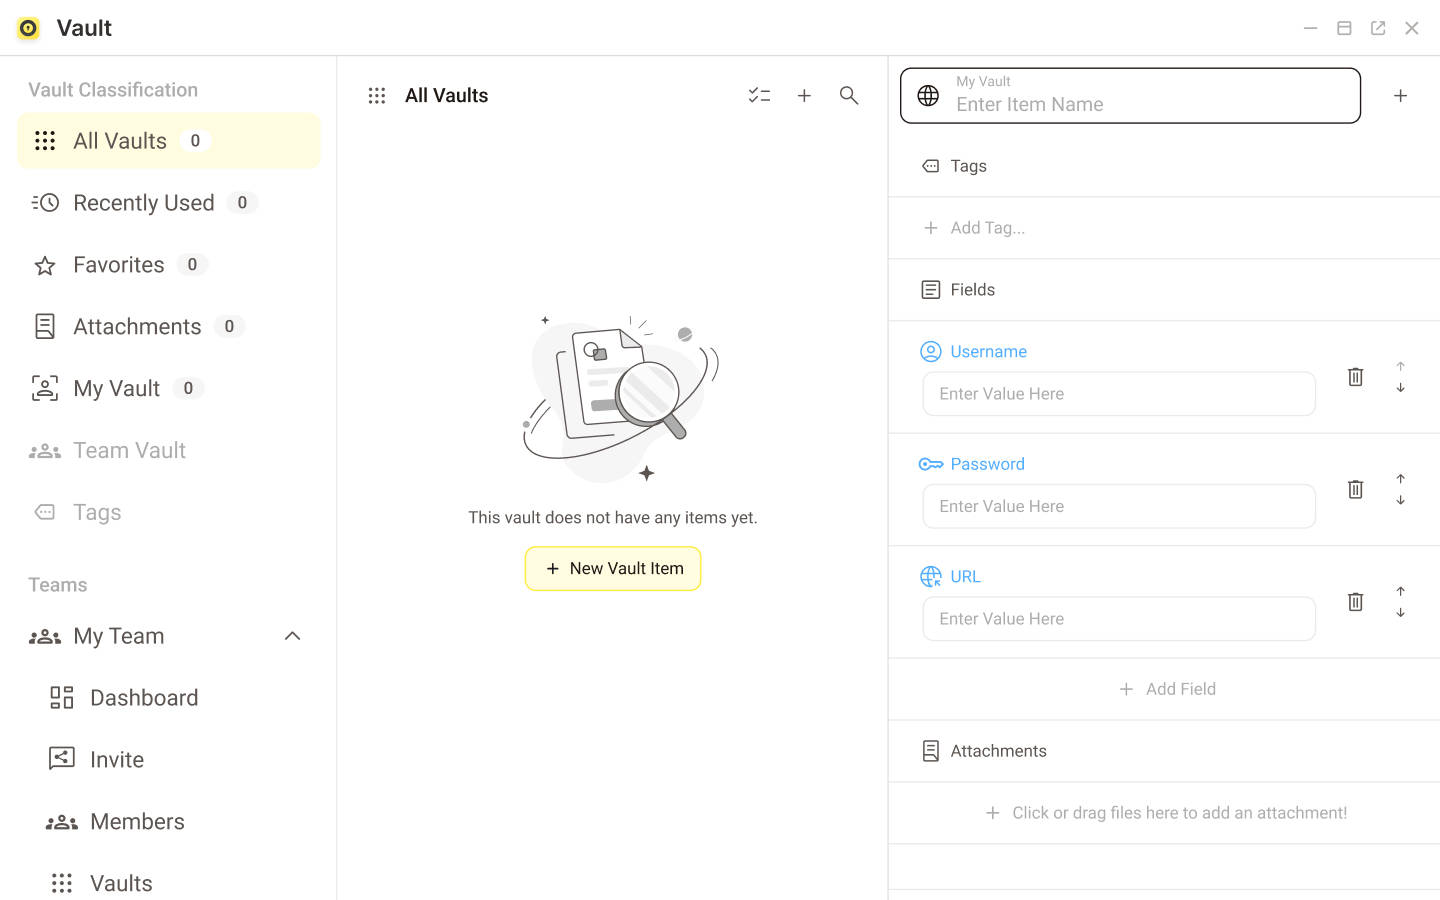
Fill in fields such as Vault Name, Username, Password, and URL, then save it.
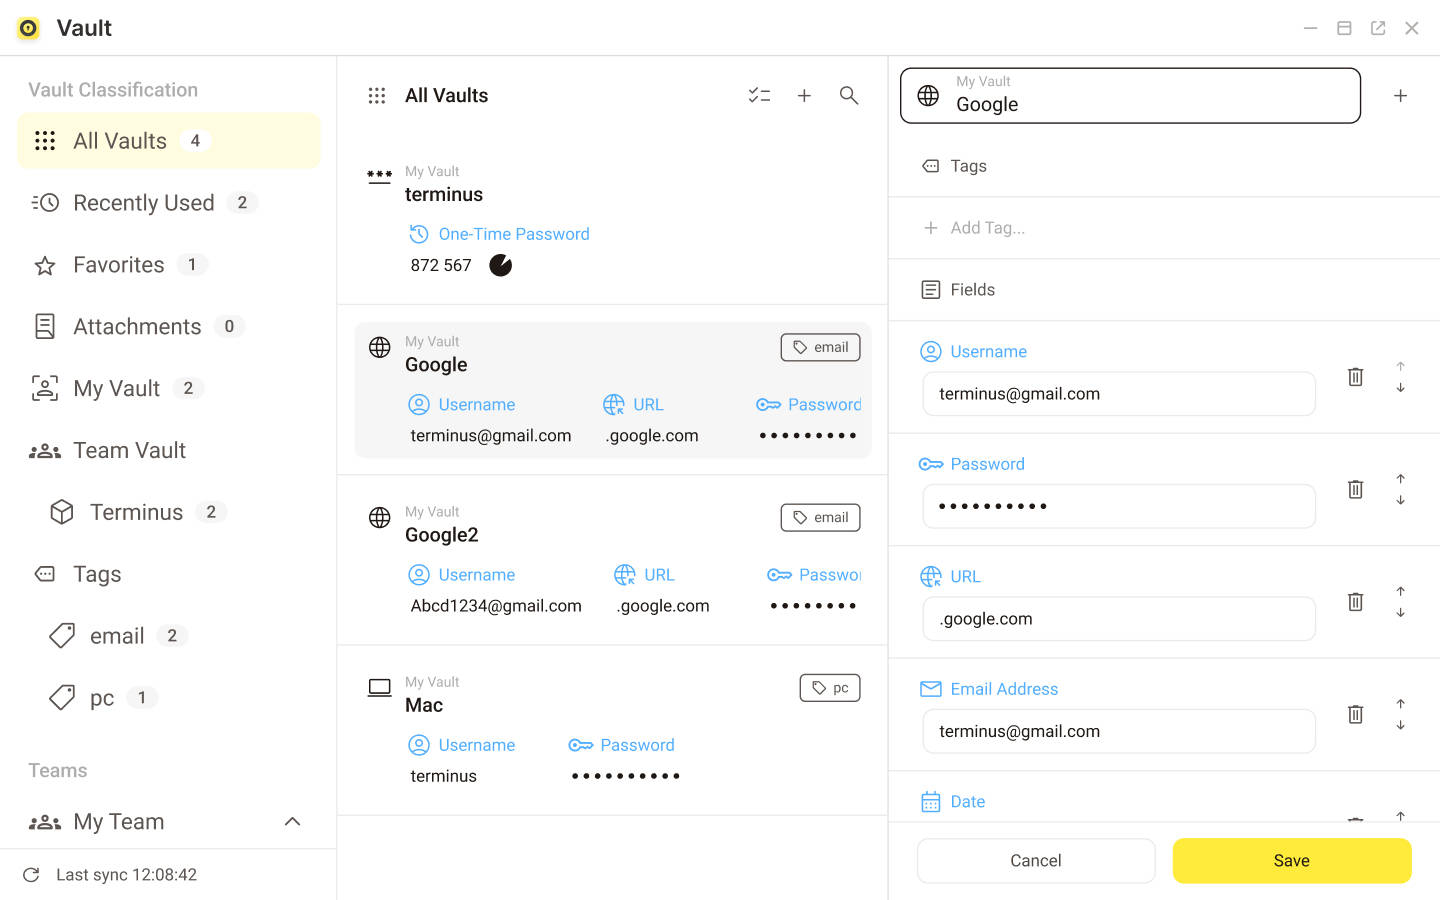
This successfully creates a new Vault Item.
Retrieve a Vault Item Using Search & Filter
You can quickly find the Vault Item you need using the Search & Filter feature. Vault provides the following methods to retrieve your Vault Items:
By Main Vault & Shared Vault: Directly select "My Vault" or "Team Vault" to quickly find items within.
By Tags: Quickly locate tagged Vault Items easily by tags such as usage, type, or any other attributes that apply to the item.
By Favorites: Click on Favorites to list all your favorite items.
By Recently Used: Click on Recently Used to display your recent items.
By Attachment: Vault Items with attachments are categorized under the Attachment filter. Clicking on Attachment will display all these items.
Keyword Search: Click the Search button and directly search for the target items using keywords.
Manage Vault Items Effectively
As your Vault Items increase, it is important to properly organize and edit them so that you can manage them effectively.
Add Tags
Tags are a simple yet powerful way to organize items. You can use type, usage area, or any other criteria you can think of to tag items. To add tags for an item,
- Click on the edit icon to the right of the Vault name to enter the edit mode.
- In the editing window, click on the Add Tag to enter your tags or select from the suggested options.
- Press Enter to finish adding tags.
You can add any number of tags to an item as needed. Once you add tags, the item will appear under the Tags category on the left.
Add a Favorite Item
To add an item to your favorites, simply click the Favorite icon next to the item name in the detail window. The added item will appear under the Favorites category in the main menu and be highlighted in the list view.
To remove an item from the Favorites category, simply click the Favorite button again.
Set an Expiration Time
Many services and companies require passwords to be changed regularly. Even if it's not mandatory, rotating passwords regularly is generally a good practice. By setting an expiration date for your Vault Item, you can keep track when a password needs to be updated or has expired.
To add an expiration time:
- Click on Add Expiration under the corresponding title in the Vault detail window on the right
- Enter the number of days until the item expires.
To remove an expiration date, enter the edit mode and click Remove Expiration.
View and Restore a History Item
Vault automatically keeps a record of previous versions whenever you update a Vault Item. This feature allows you to view and restore older versions of an item.
- Find the specific version from the historical entries under the History section.
- Hover on the entry and click on the eye icon to view it. If you wish to restore the item, click the Restore button at the bottom of the record detail window.
:::Info Vault retains up to 10 historical records for each item. When this limit is reached, older entries are discarded to make way for new ones. :::
Attach Files to a Vault Item
Sometimes, a lot of sensitive information is stored in PDF documents, spreadsheets, photos, and various other file types. Attachments provide a secure way to save sensitive information stored in various file types, alongside your Vault Item.
To attach a file to a Vault Item, click Add Attachment and choose the file to upload in the upload window.
:::Info You can store unlimited number of files of any type in your Vault. However, each file must not exceed 1 MB. :::
Create Shared Vault
While features such as tags and favorites should be sufficient to organize your Vault Items within your private Vault. Creating a Shared Vault facilitates organizing and sharing items among multiple users. To create Shared Vaults, you must first join an organization. For more information, please refer to Managing Shared Vault for Your Team.