Dify
Terminus OS has integrated Dify for LLM app development. Building upon the original features of Dify, Terminus OS enhances its functionality by:
- Unifying the account systems of both platforms, eliminating the need for separate logins.
- Creating a dedicated agent, Ashia, for each account.
- Integrating Dify into the model management system, allowing Agents to use local models directly.
- Linking Market to Dify for direct installation of agents from Market.
- Connecting TermiPass with the Dify Agent interface, allowing agent activation within TermiPass.
- Merging Dify's datasets with Knowledge Base, allowing agents to answer user queries based on local files.
This manual walks you through configuring your own LLM agents in Terminus OS. You can also refer to the official manual of Dify to further explore how to create a Dify application.
Configure LLMs
AI applications or agents depend on Large Language Models (LLM) to work. In Terminus OS, you can either set up a remote model or use a local model.
Set Up a Remote Model
Let's use GPT-4 as an example to demonstrate how to set up a remote model.
On the Dify interface, click on the username in the upper right corner, then click Settings > Model Provider to enter the LLM setting page.
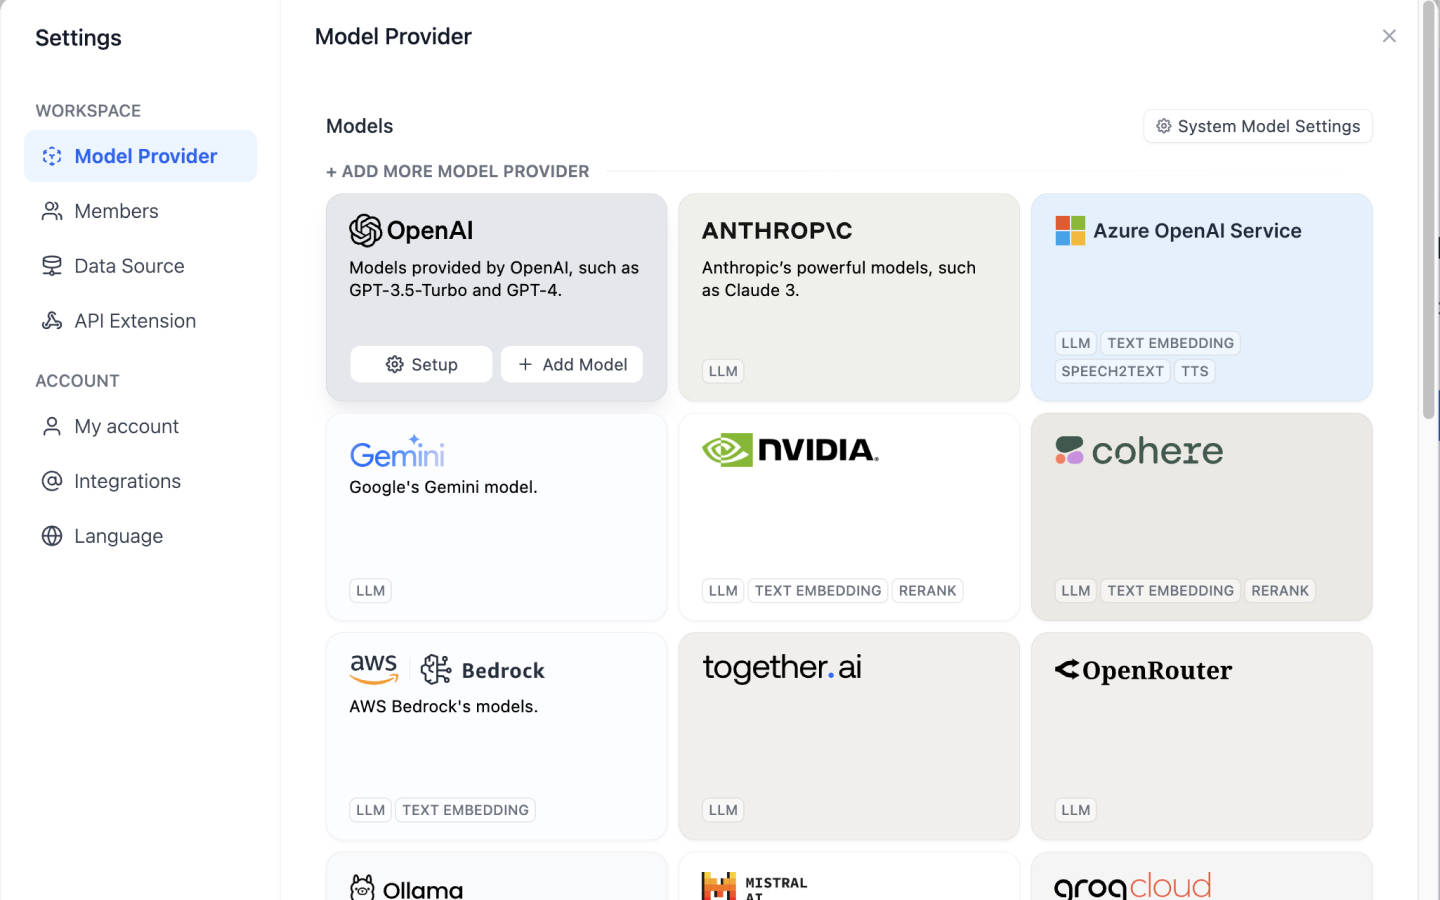
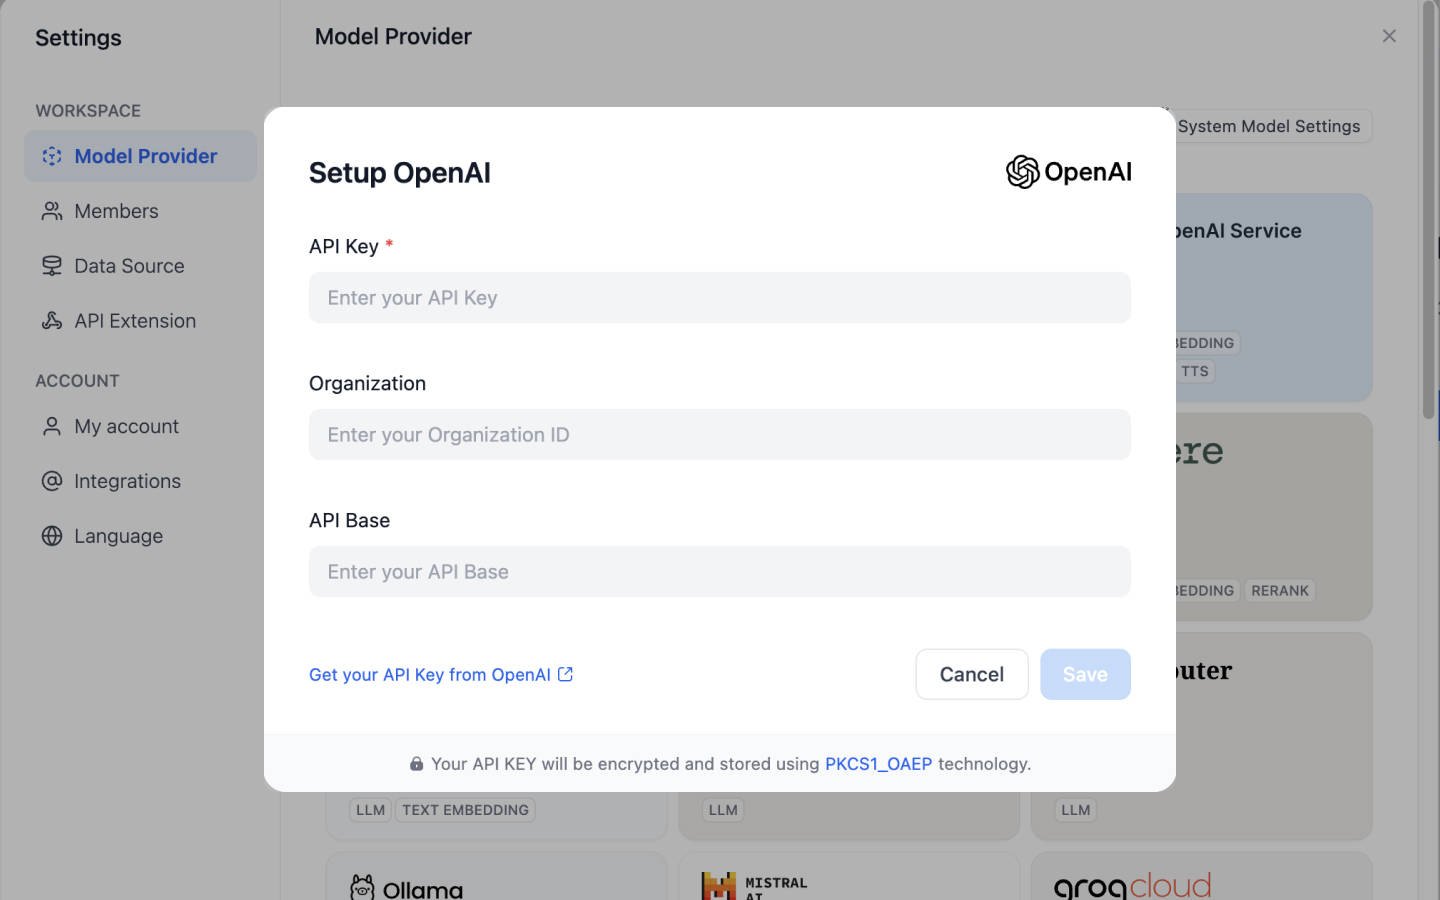
On the Models card, hover over the OpenAI option and click the Setup button to enter the OpenAI configuration page.
Enter the API Key and other necessary information to configure the access to a range of models from OpenAI.
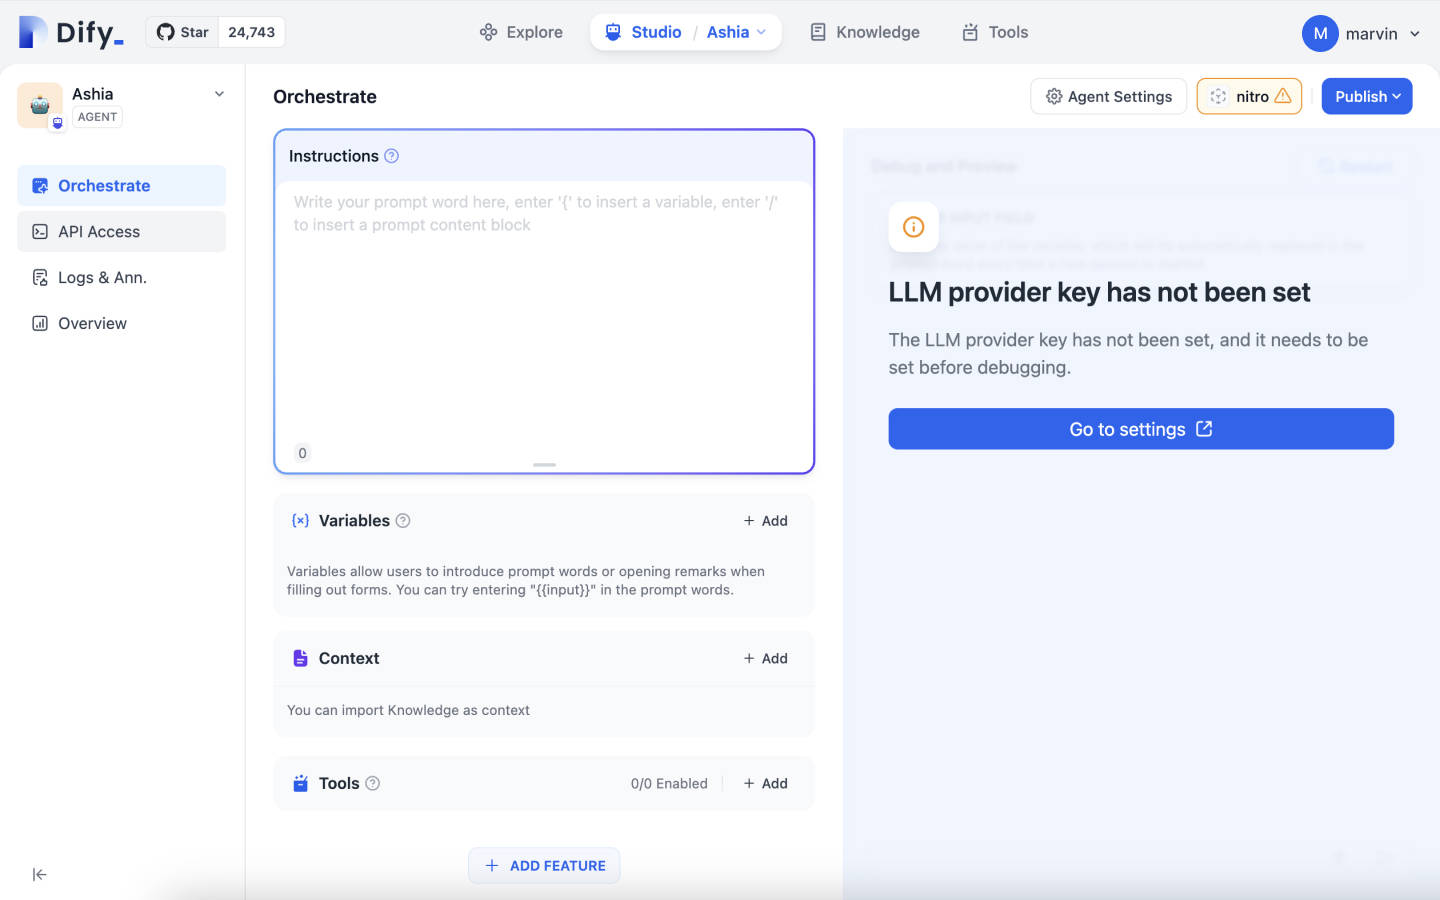
Now you can select the model and configure the parameters on your app setting page under the Studio tab.
Use a Self-hosted Model
Terminus OS supports hosting local LLMs as long as your Terminus instance has an accessible GPU. You can install a local model directly from the Market, and then add it in Dify.
Install from Market
To install a local self-hosted model:
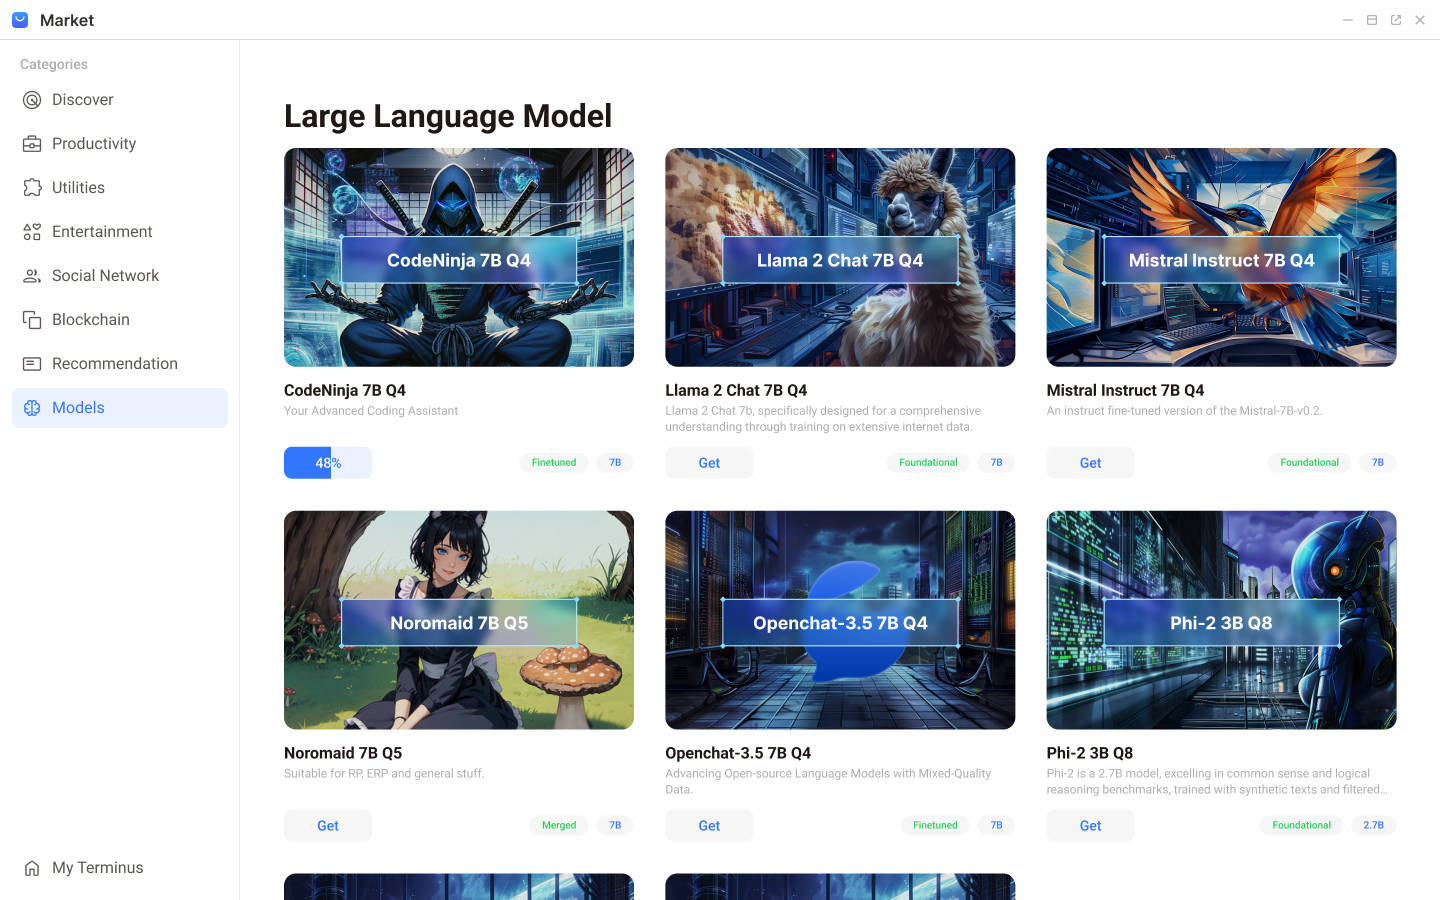
In the Market app, choose a Self-hosted Model, and click the Get button to install it in Terminus OS.
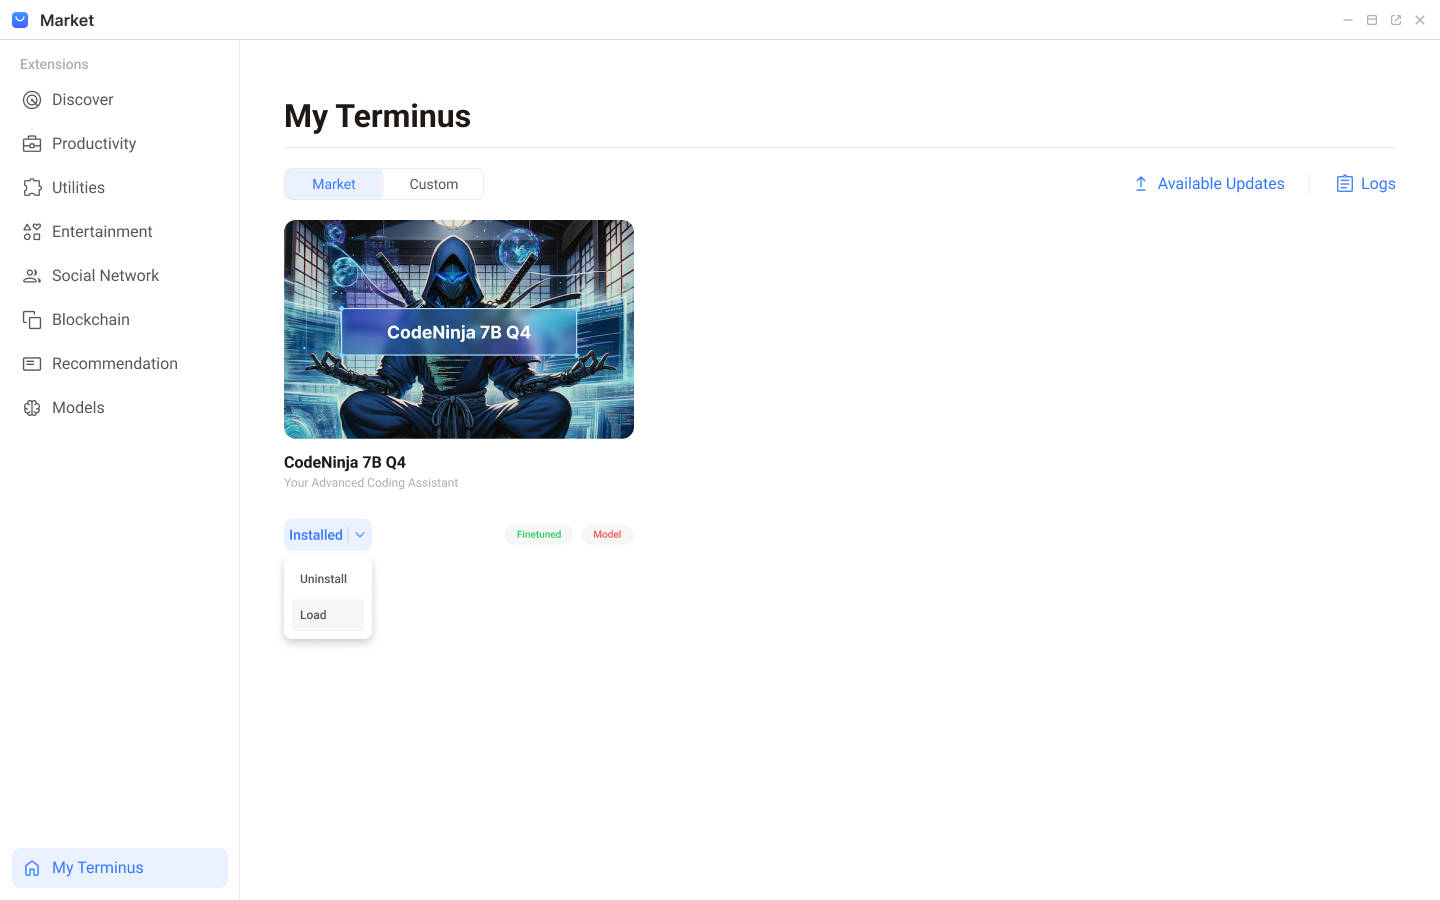
Navigate to the My Terminus page in the lower left corner to Load an installed model. Once loaded, the model status will change to Running. You can Unload a running model on this page later. Learn more about installing and managing models in the Market here.
NOTE
Only one model can be in the "Running" state at any given time.
Add the Local Model in Dify
To add the loaded model in Dify:
In Dify, navigate to Settings > Model Provider, where you can see a system-level OpenAI-API-compatible model named
nitro, already configured and available.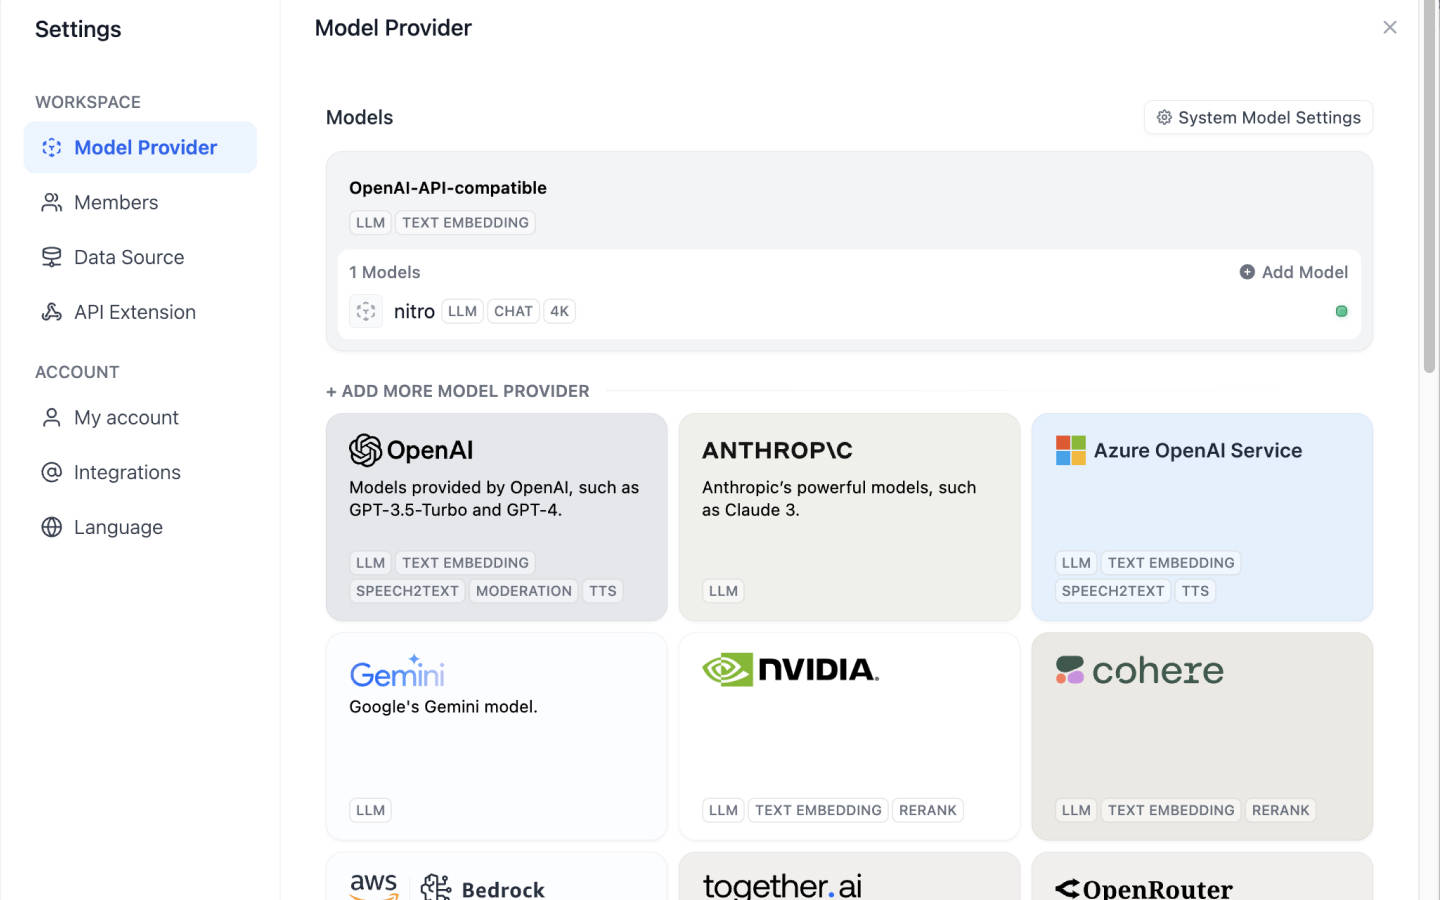
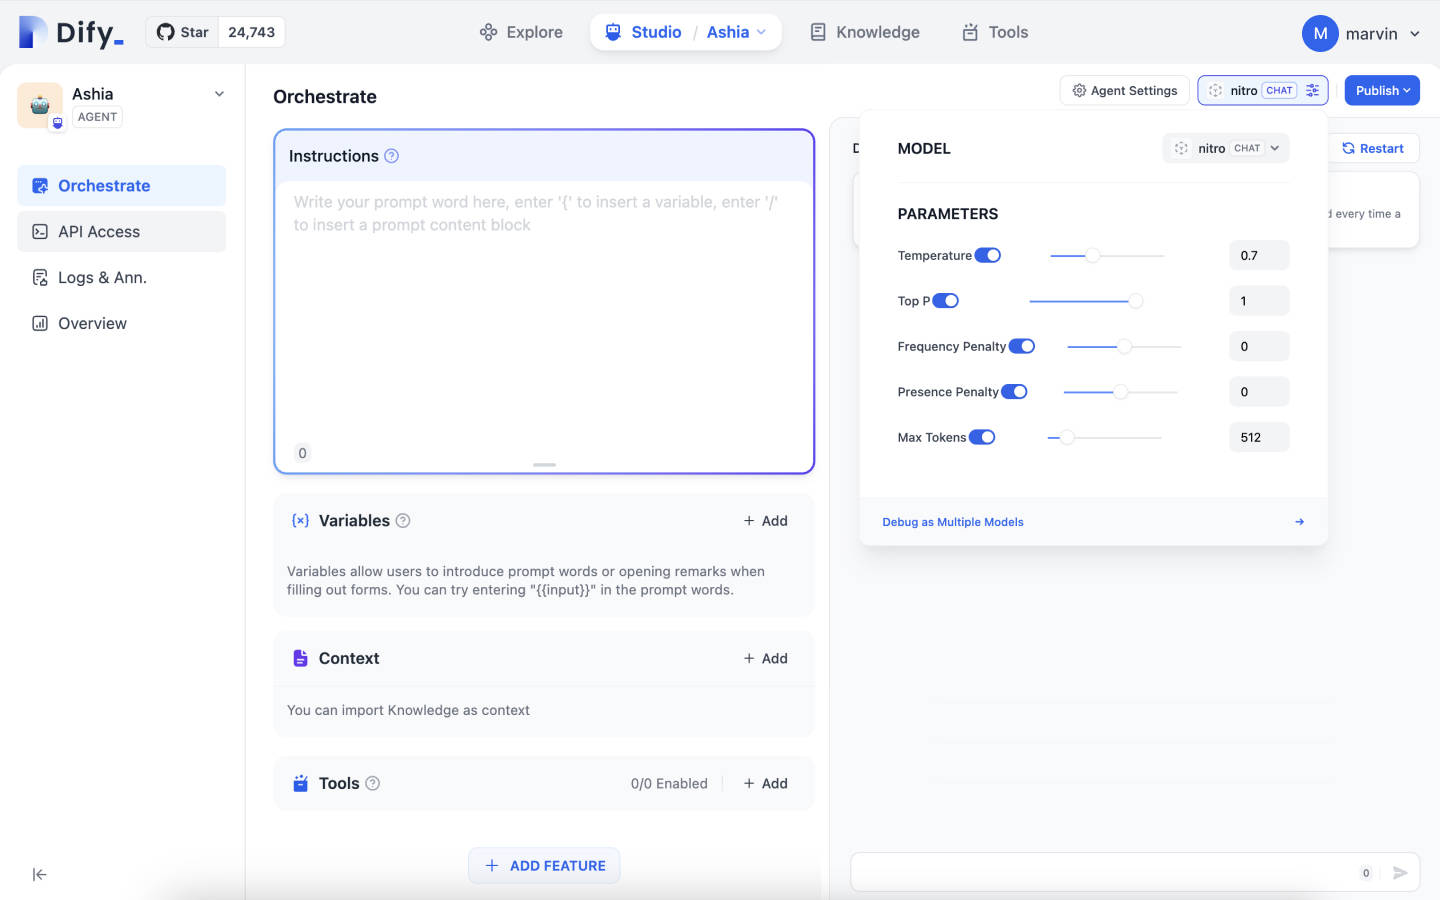
Open your agent (Ashia in our case) configuration page, you'll see that the model has been automatically set to 'nitro'. You can adjust the detailed parameters of nitro here.
TIP
nitro will be removed automatically when the model is unloaded. If you want to switch to another model, you must manually configure it on the Agent page.
Set Up Ashia
Now that you have already configured your LLM, you can now set up Ashia, your personal AI assistant in Terminus. Follow these steps to set up Ashia:
On the Dify page, select Studio and then Ashia to access the setup page for Ashia.
Specify and configure a large language model (LLM) for Ashia. You can either choose from a Remote Model or a Self-Hosted Model. In our case here, we will continue with
nitro, the local model we just loaded. You'll see that the model has been automatically set to 'nitro' for Ashia. You can adjust the detailed parameters of nitro here.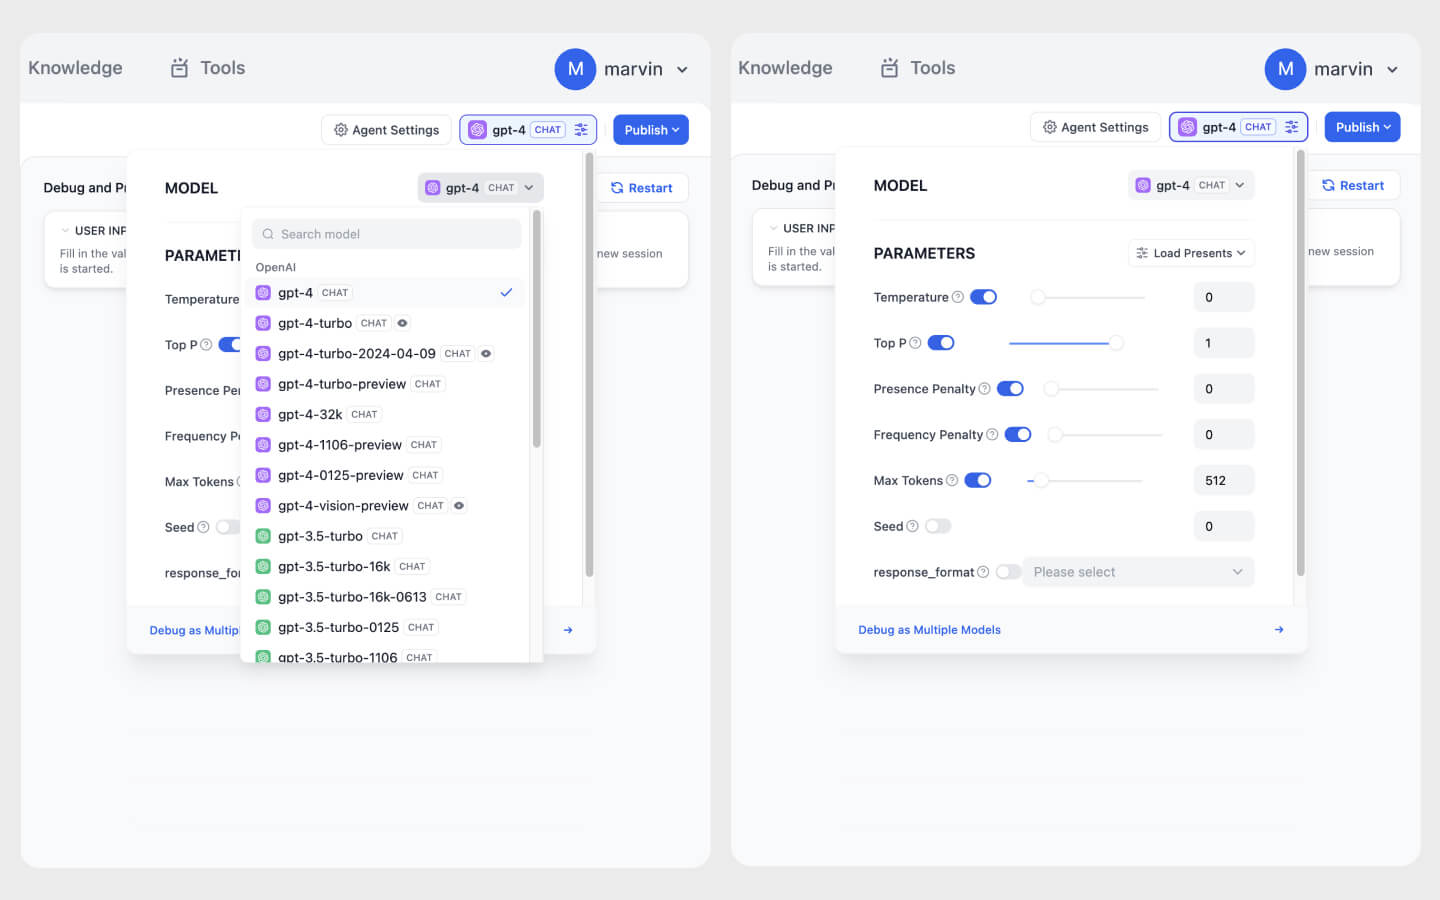
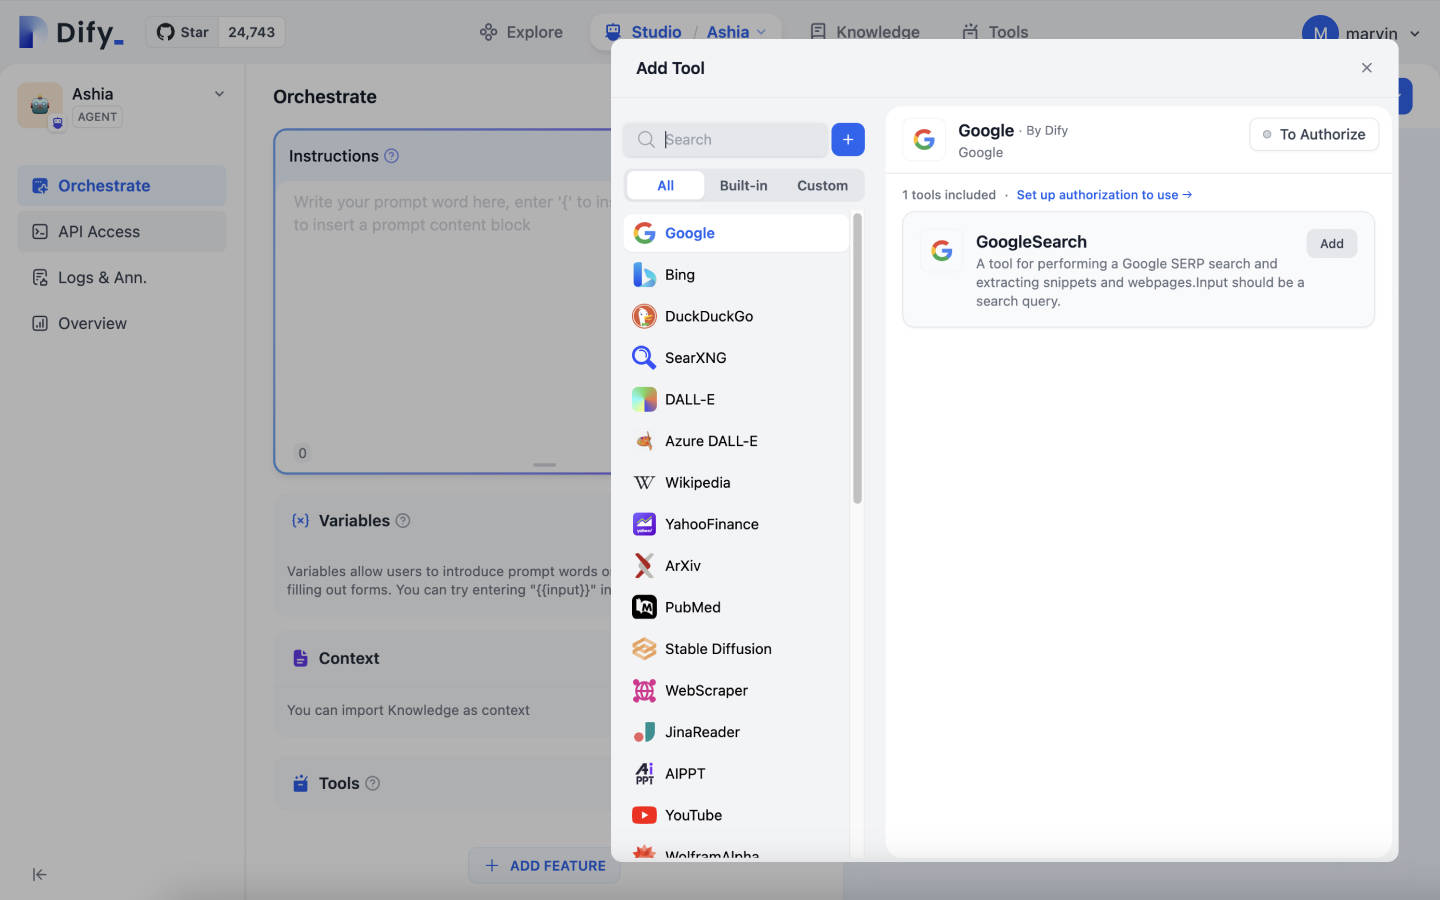
In the Orchestrate window on the left side, configure prompts, variables, context, and add tools to add supplementary capabilities for the agent.
Click the Publish button in the upper right corner to deploy the configurations.
Now the Ashia agent with the loaded model is now ready for use.
Create Knowledge
You can add Knowledge to an Agent so that the agent can answer questions within a specific context.
Navigate to the top of the Dify page, and click on the Knowledge tab. Upon entering, you'll see a default Knowledge document named
_YourTerminusName_'s Documentalready set up. By default, this Knowledge monitors the Documents folder under Terminus's Files.
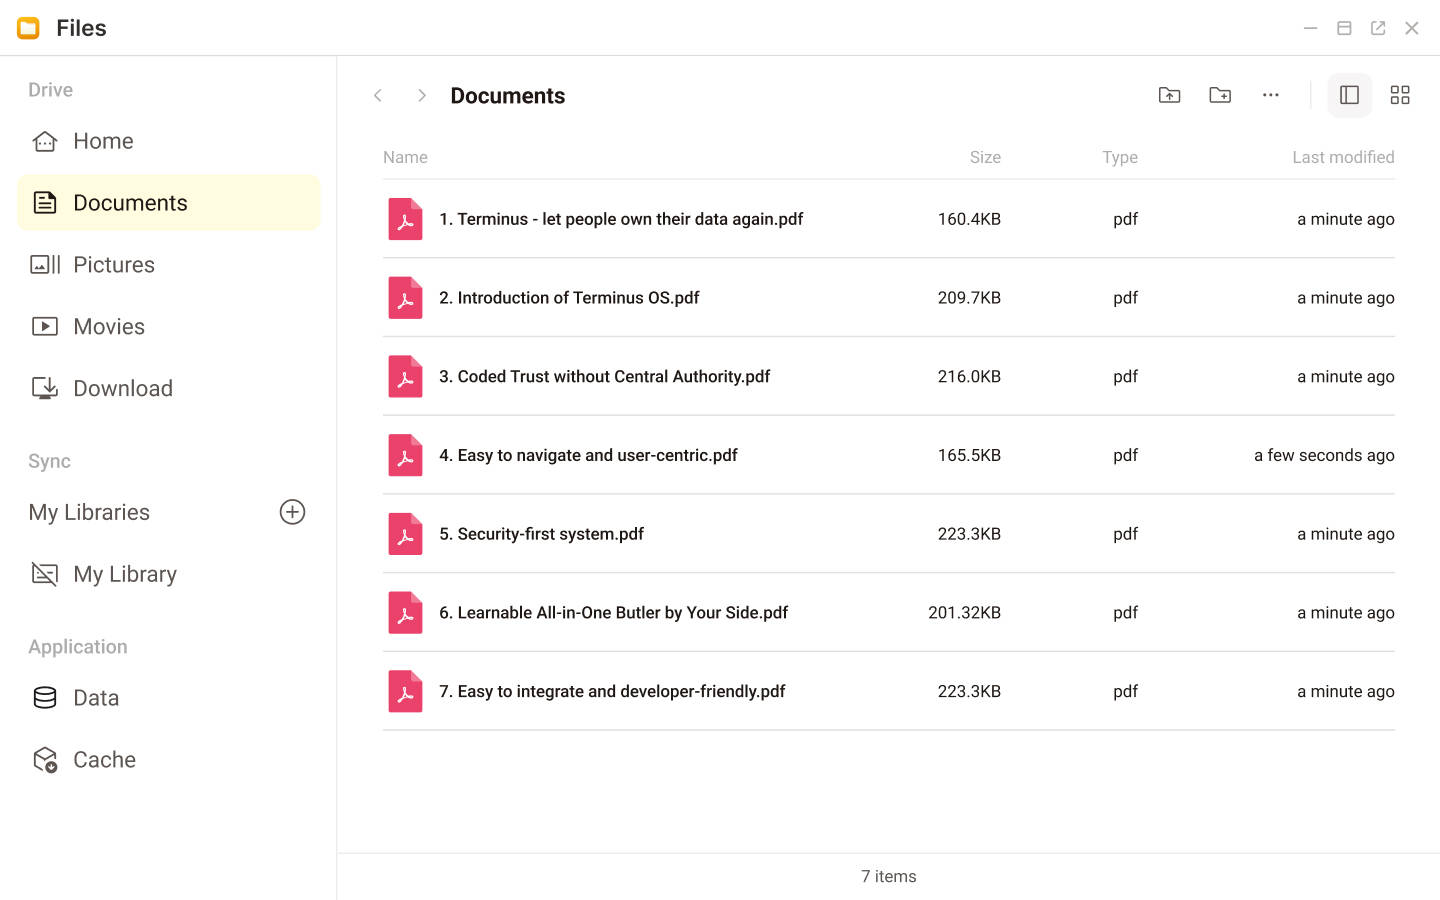
Open the Files app, and upload some files to the Documents folder.
Now return to Knowledge, and you can see the uploaded files have been automatically parsed, synchronized, and indexed.
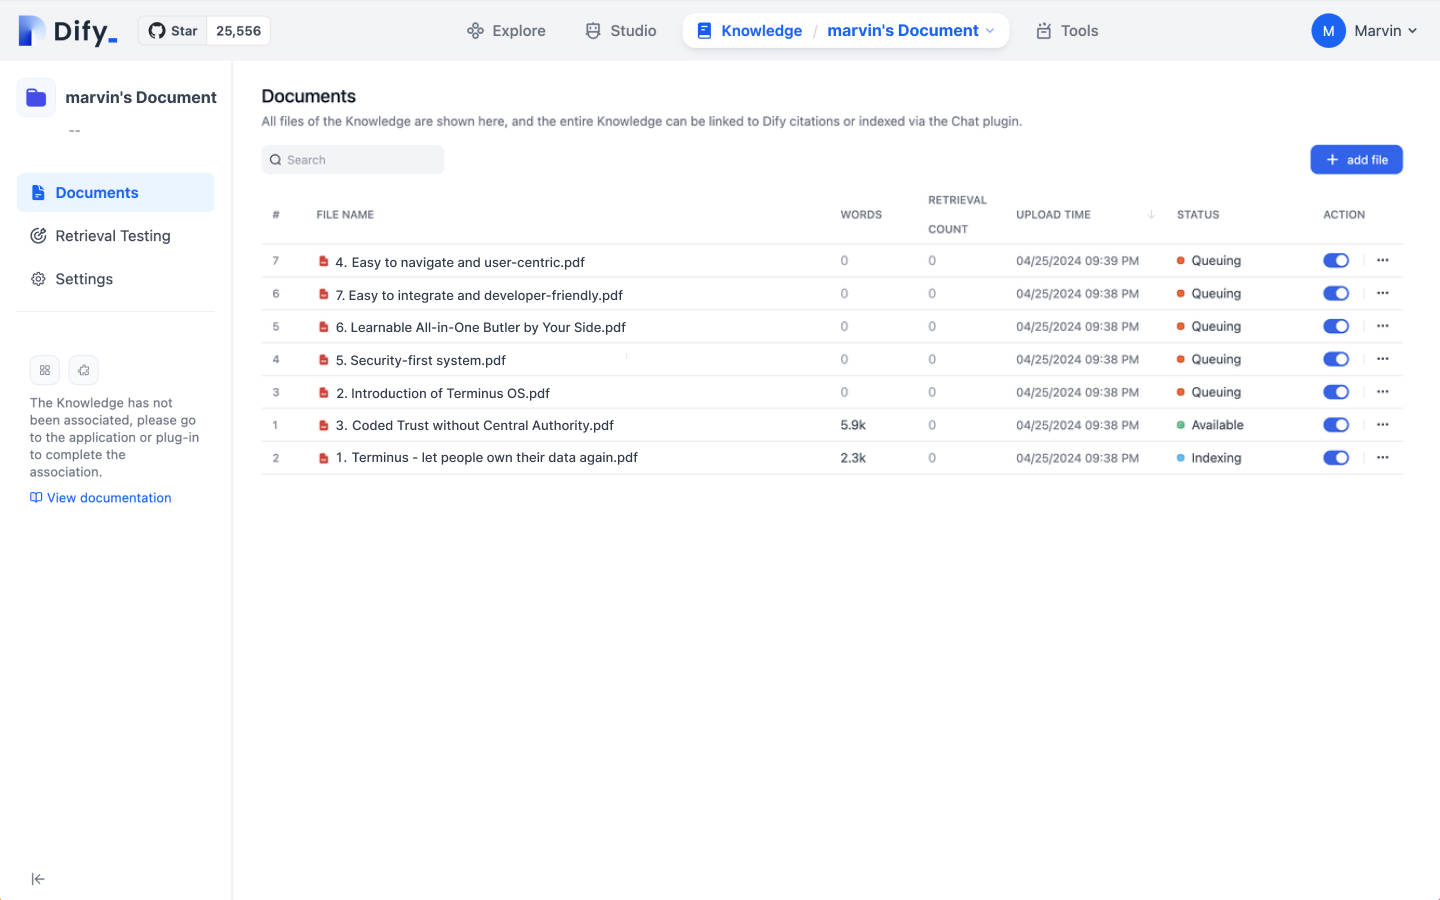
Once all documents become available, which may take some time, you can proceed to configure the Context for the Agent.
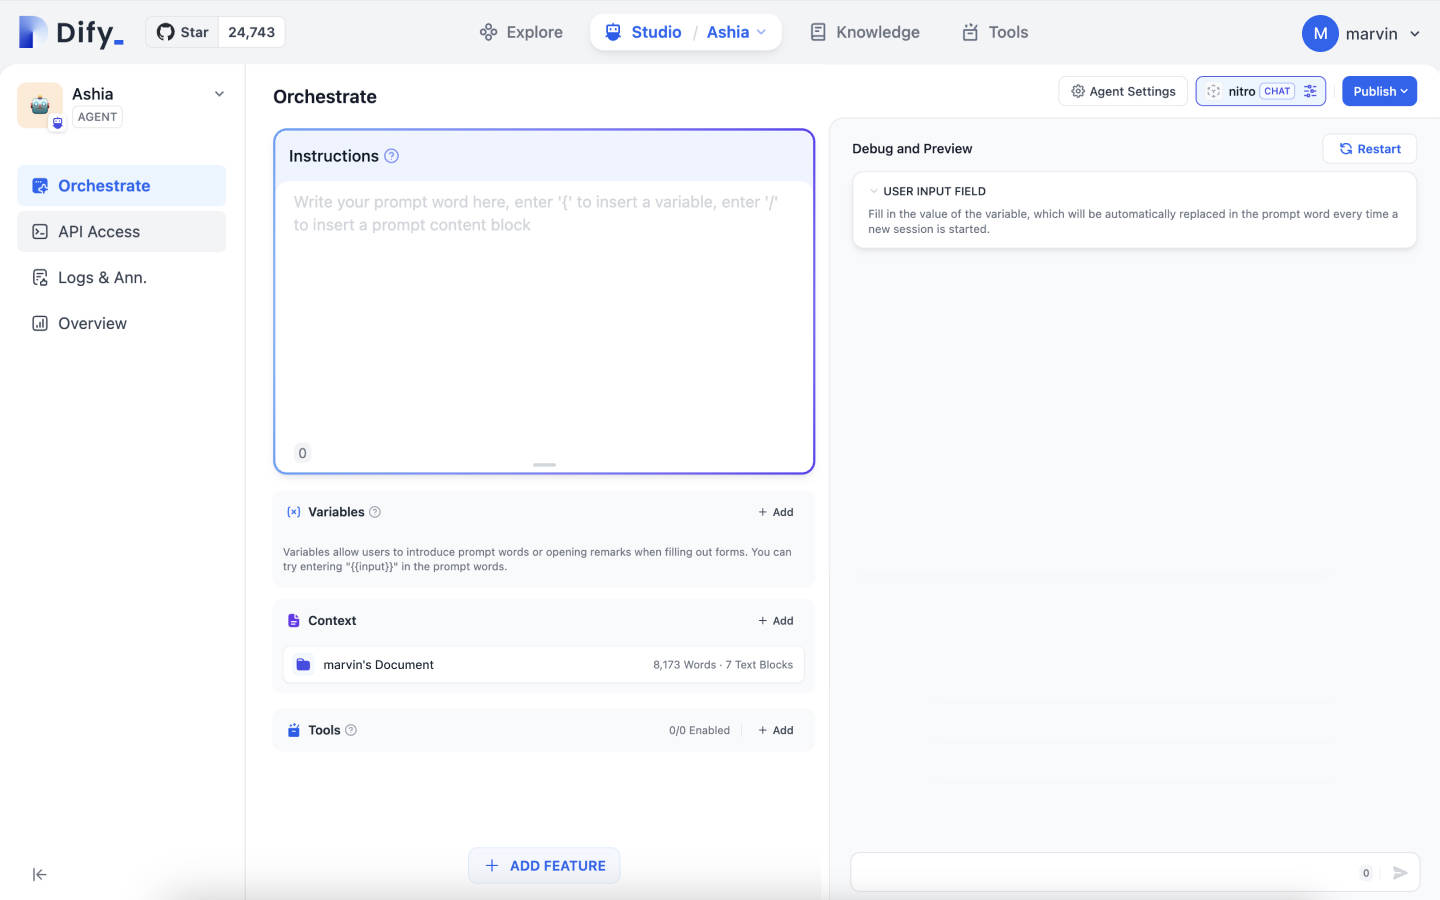
Navigate to the configuration page of Ashia. Then, click the Add button at the Context section on the left to add Knowledge, or customized contexts, to your Agent.
With the knowledge base management function, you can build more knowledge bases by yourself. By setting the folders monitored by each knowledge base, you can provide context for different Agents with different knowledge bases.