Files

Files is a pre-installed app on Terminus OS and is accessible through both the web and TermiPass.
This page primarily focuses on the main features and operations of Files.
Component Overview
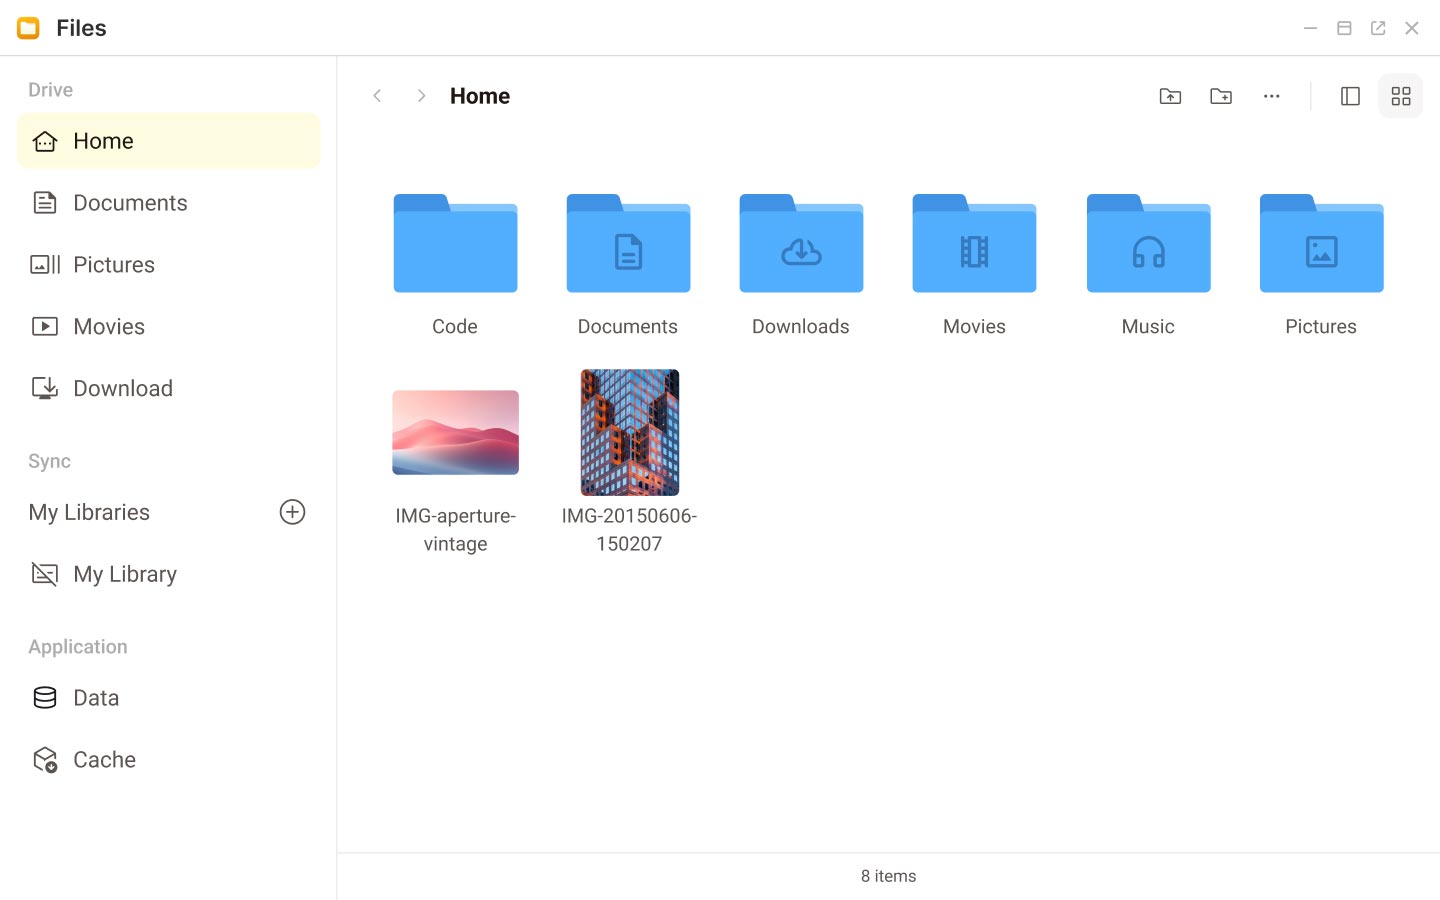
Files consists of the following components:
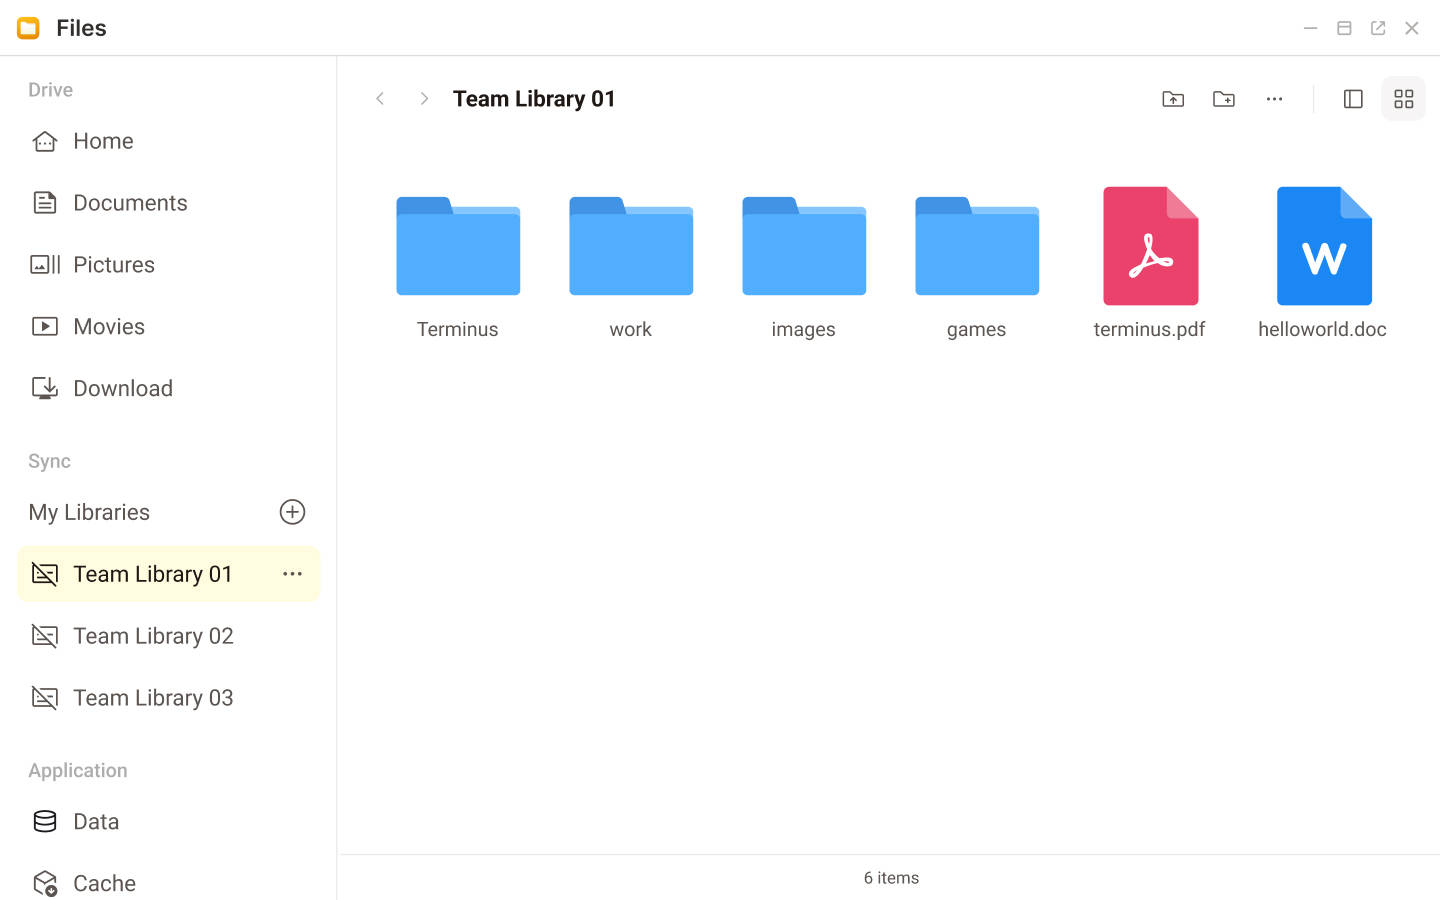
Drive: Stores files that don't require frequent sync or modifications. Each user has a Home directory, with default directories like Documents, Pictures, Movies, and Downloads.
Developers can consider the Home directory as the root directory for UserData:::
Sync: Lets you sync files and directories across devices using TermiPass. Each user has their own default Library. You can also create Shared Libraries to share files with other Terminus users.
The Sync drive has its own file system stored on JuiceFS. However, this system is not visible to developers. :::
Application: Stores application related data primarily for development debugging. It has two subdirectories: Application Data (Corresponds to the AppData directory) and Application Cache (Corresponds to the AppCache directory).
Basic Operations
In Files, you can interact with them using a unified, intuitive set of operations.
Create a New Folder
To create a new folder:
- Right-click in the empty space of any folder, select 'New Folder' from the context menu. Alternatively, you can click the 'New Folder' button in the upper right corner of any folder.
- Enter the folder name in the popup window and click Create.
Rename a File
To rename a file:
Right-click on the file and select Rename from the context menu.
Enter the new file name in the popup window.
This method also works for renaming a folder.
Change the View Mode
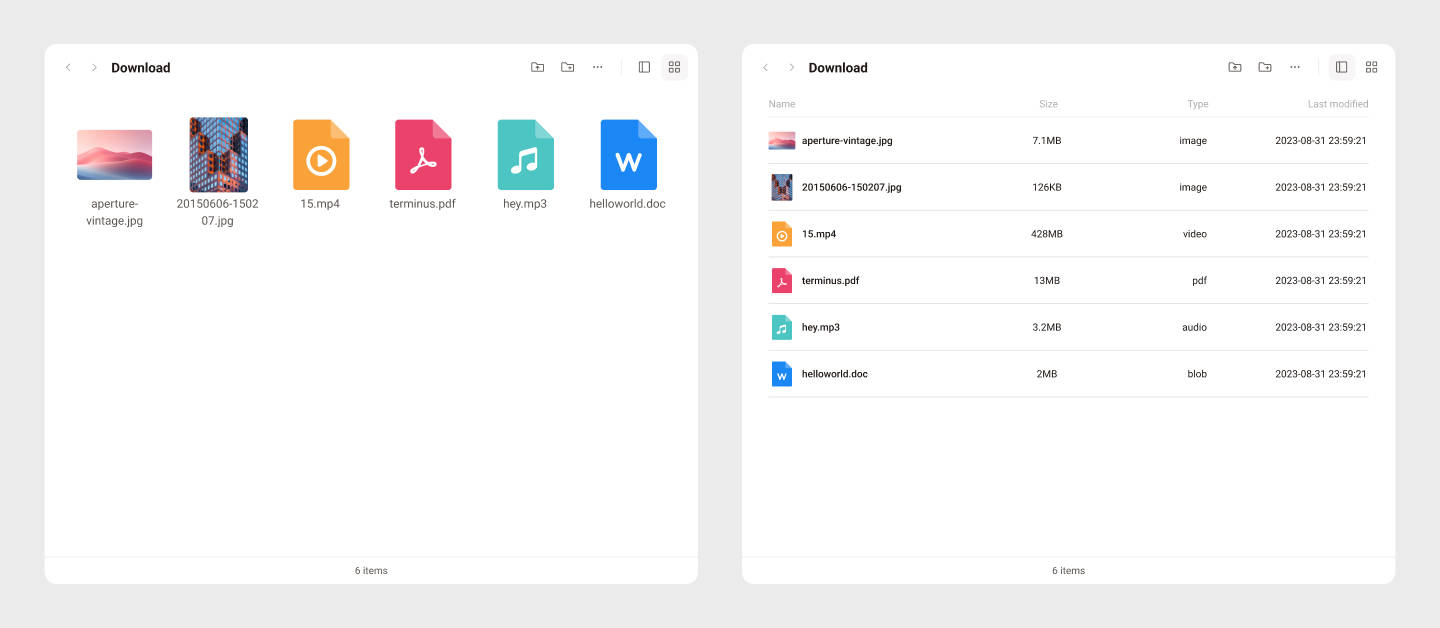
You can toggle between two view modes: List and Large Icons.
Select Multiple Files
Use keyboard shortcuts plus clicking to select multiple files at once:
- On Windows, use Ctrl + Click.
- On Mac, use Command + Click.
We plan to support more multi-selection methods in the future.
Copy a File
To copy/paste a file:
- Select the file and right-click to access the context menu, and choose Copy.
- Navigate to the desired location, right-click on an empty space, and select Paste.
Files supports copying/pasting across different file systems. For example, you can copy from Drive to Sync and vice versa.
NOTE
This process may take some time, so please wait for the operation to complete before moving on to the next operation.
Delete a File
To delete a file:
- Select the file, right-click to access the context menu, and choose Delete.
- Confirm in the popup window to delete the file.
Alternatively, you can also initiate deletion from the More Options (...) button in the upper right corner of the interface.
WARNING
There is no recycling mechanism in Terminus OS. Deleting a file will immediately free up the storage space. Once files are deleted, they cannot be recovered.
View the Attributes
To view details about a file, select the file, right-click to access the context menu, and choose 'Attributes'.
You can find information about file size, count, location, update time, and more.
NOTE
You can view details for only one file or folder at a time.
Access Right-click Menu Options
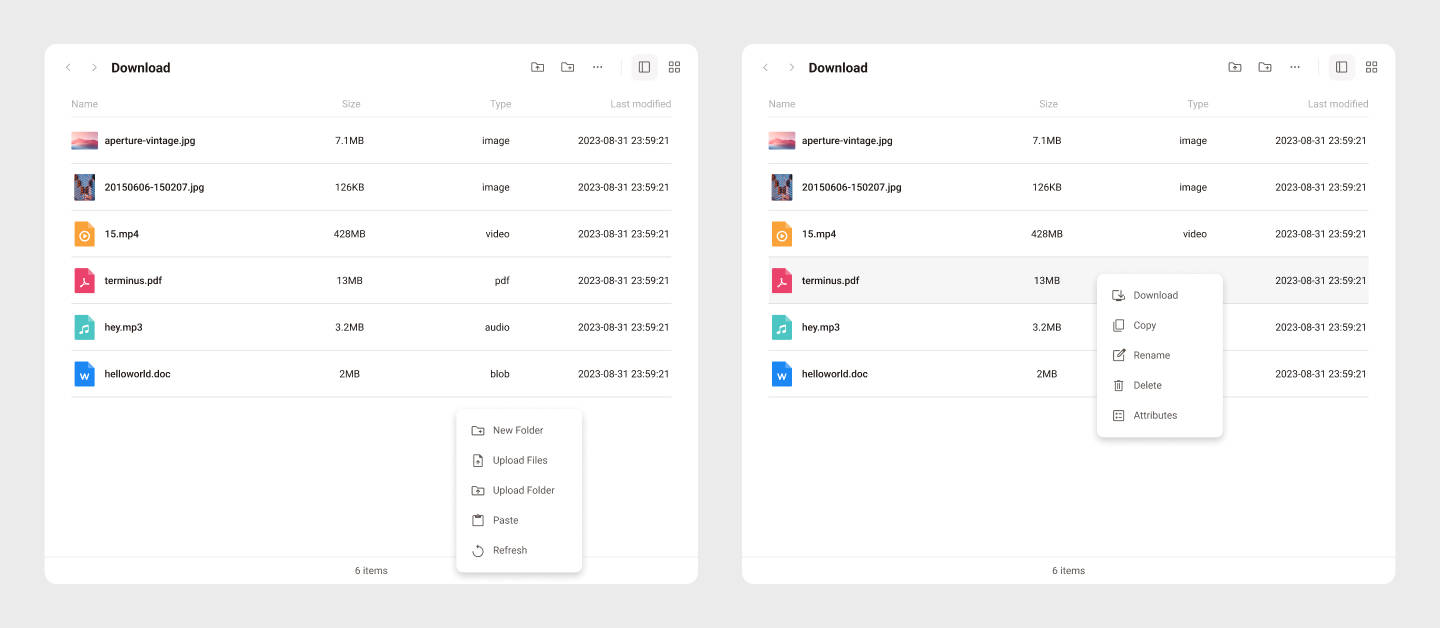
You can access the Right-click Menu, also known as the context menu, in two different situations:
- When a file is selected. The options include: Download, Copy, Rename, Delete, and Attributes.
- When clicking in an empty list space. The options include: New Folder, Upload Files, Upload Folders, Paste (if the clipboard contains files), and Refresh.
Upload Files
You can upload files to Files using these methods:
- Drag and Drop: Drag files from your local file manager into the Files window.
- Upload Button: Click Upload in the Files toolbar and select files.
- Right-click Menu: Right-click in the Files window and select Upload.
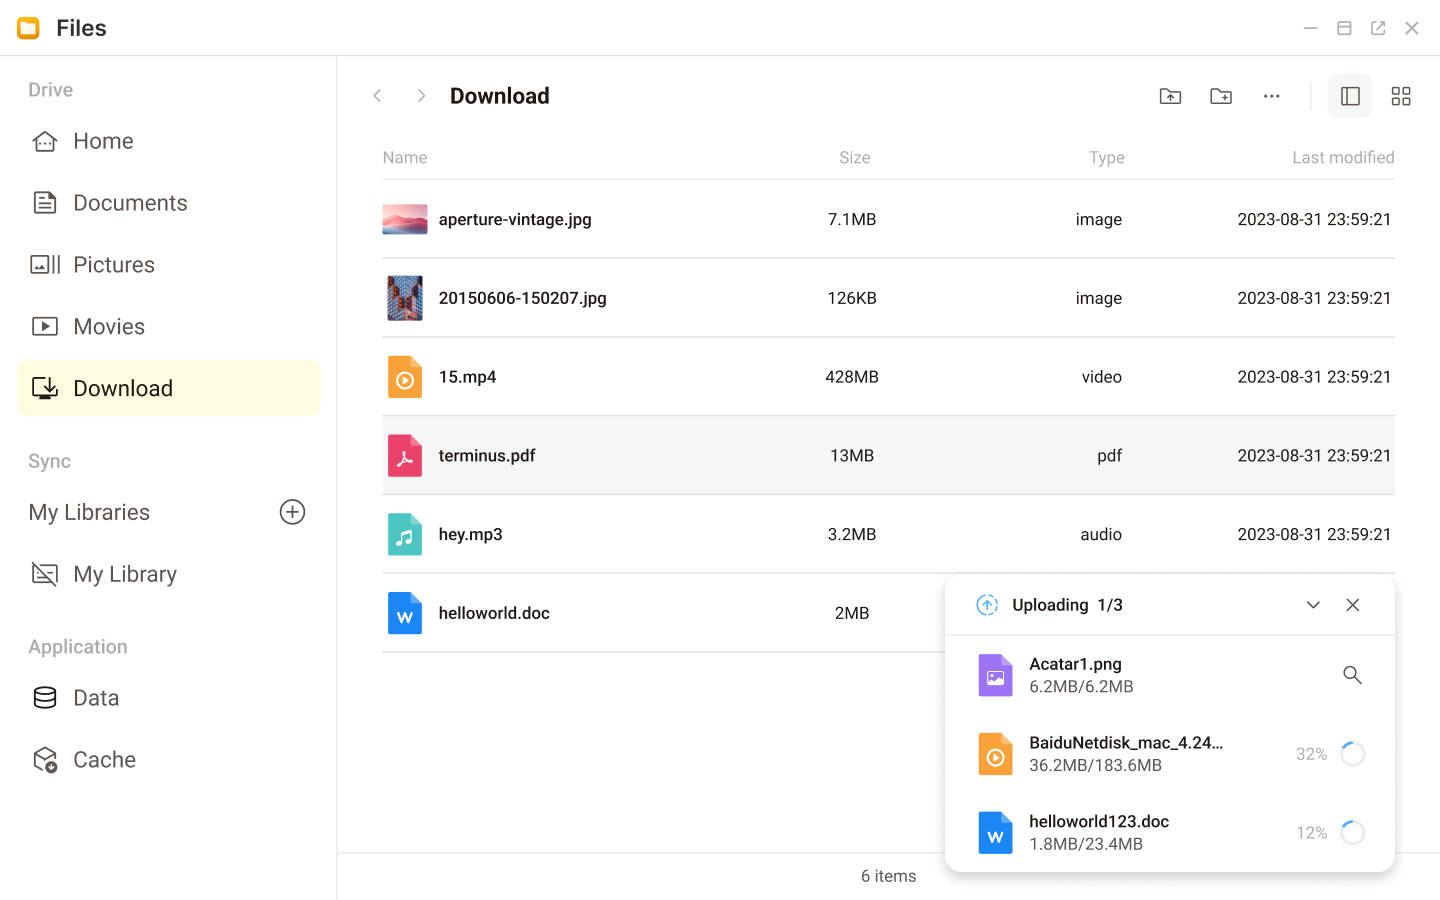
Files supports uploading single or multiple files, folders, or a combination of both. Uploads to both Drive and Sync are resumable. If an upload is interrupted, it will resume from the last checkpoint.
Download Files
Single File Download In Files, select any file, right-click to bring up the context menu, choose 'Download', then select the location to save the file on your local drive and click Save.
Multiple File Downloads When downloading through the browser, Terminus will package multiple files into a single zip file. After the download is complete, you will need to manually unzip the file.
TermiPass desktop supports multiple file downloads. All submitted download are added to a queue. You can pause, delete, or manage ongoing downloads. Additionally, you can view and locate files that have been downloaded to your local drive.
You can download files from Files in the following ways:
- Single File: Right-click on any file and select Download. Choose the save location on your local drive, and click Save.
- Multiple Files:
- Download from Browser: Multiple files are downloaded as a single zip file. You need to unzip the file after downloading.
- Download from TermiPass: Submitted downloads are added to a queue which you can manage (pause, delete, etc.). You can also view and locate downloaded files on your local drive.
Preview & Edit Files
File Preview
Files supports previewing the following file types:
File Type Formats Images JPG, JPEG, PNG, BMP, WEBP, SVG Videos MP4, MKV, AVI, MOV, MPEG, MTS, TS, WMV, WEBM, RM, 3GP Audio MP3, WMA, WAV, OGG, AAC, M4A, APE, FLAC Text PDF, TXT, JS, MD, CSS, XML, YAML, HTML Text File Edit
Files supports editing and saving text files in these formats: TXT, JS, MD, CSS, XML, YAML, HTML.
Libraries Operations
Library is the basic unit in the Sync drive. You can use Libraries to:
- Sync your data across multiple devices.
- Share data in real-time with other users.
- Sync across multiple devices and share with multiple users simultaneously.
You can create multiple libraries** to meet different syncing and sharing needs. For more information, see Sync.
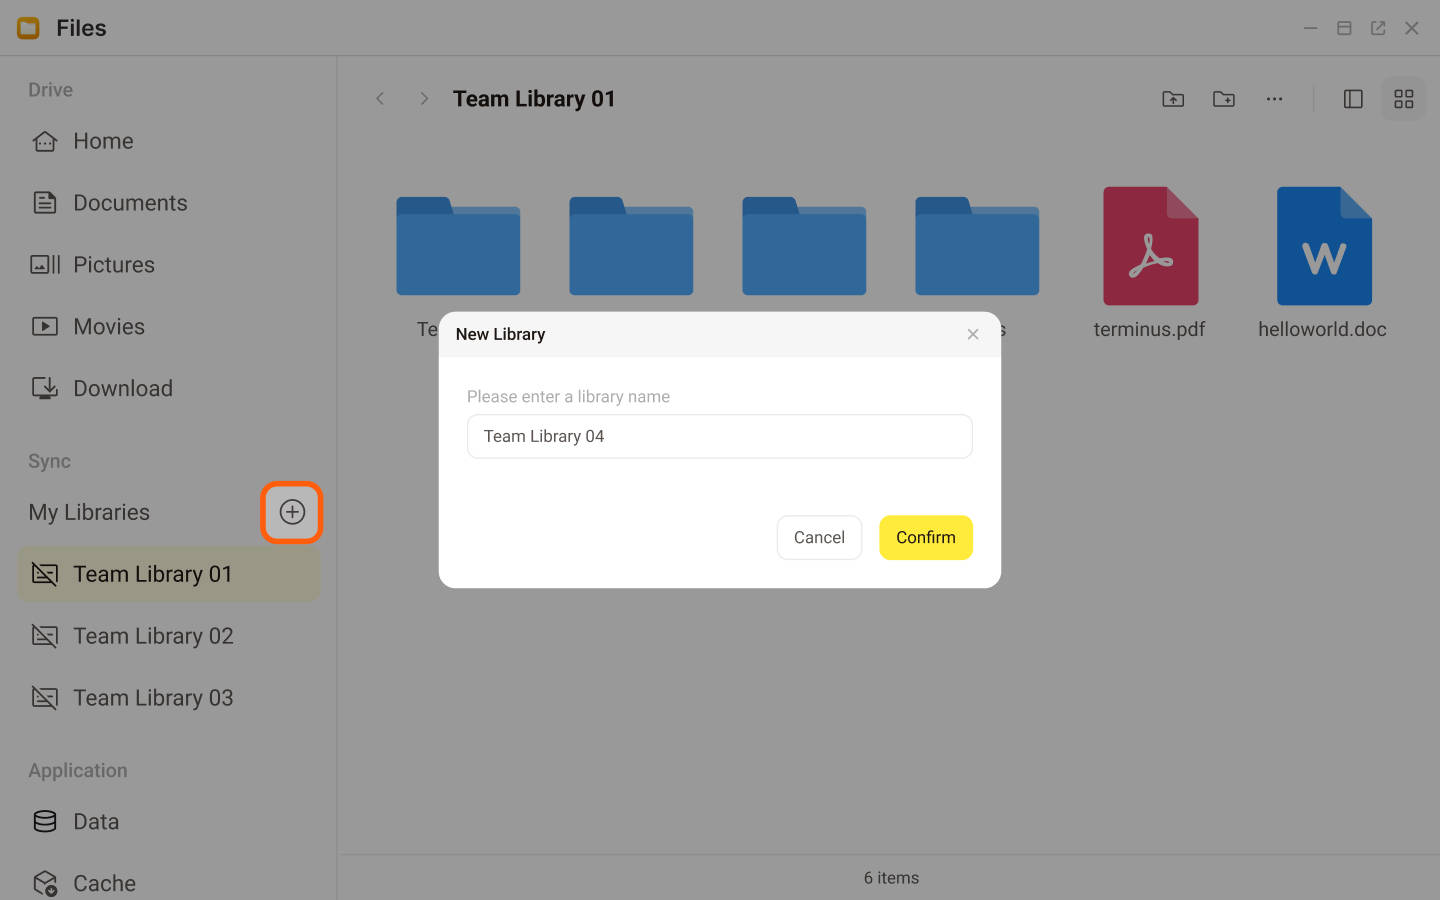
Create a Library
Click the + button on the page to create a new library.
NOTE
The user who creates a Library is its owner, and ownership cannot be transferred.
Share a Library
To share a library:
Select a Library you want to share, click the More Options (...) button on the right, and choose Share with.
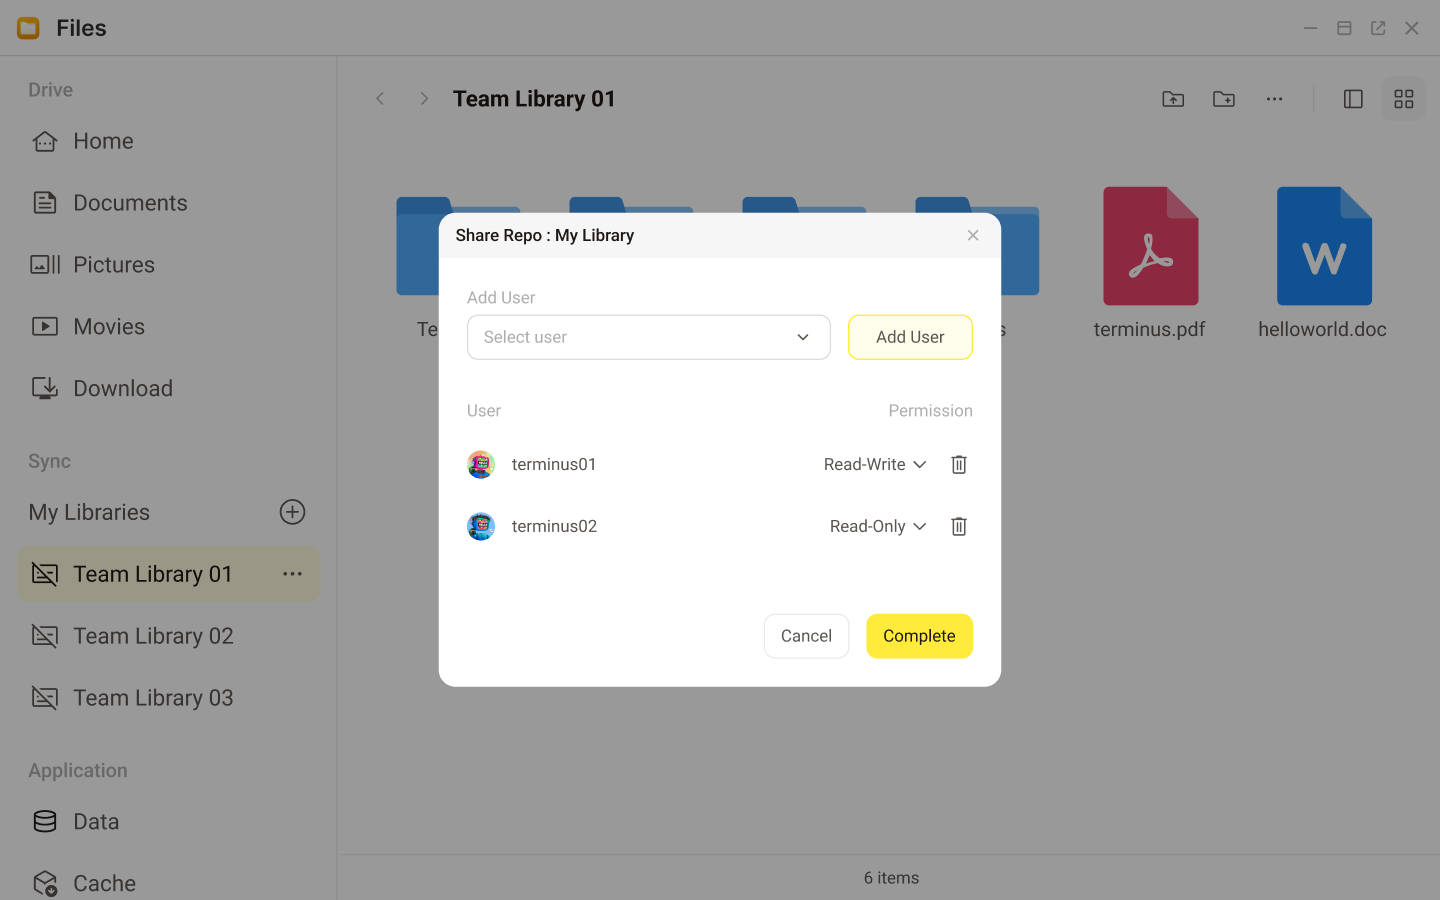
In the pop-up dialog, enter the users you want to share with or select them from a dropdown menu.
Set their file permissions:
- Read-write: Allows adding, deleting, and modifying Library content.
- Read-only: Allows viewing content without modifying it.
Click Complete to finish the sharing process.
The invited users will find the shared library in their Library list.
Manage Shared Libraries
The Share with dialog displays the USER list with their respective permissions.
Member Roles:
- Owner: Has full permissions for the Library and is the only one who can delete it. They can also invite and remove users, and modify user permissions.
- User: Permissions are set by the owner and can be either Read-write or Read-only.
Exit a Shared Library (User Only)
If you are a member of a shared library, you can choose to exit the library:
- Select the More Options (...) button on the right of the Library.
- Choose Exit and confirm.
Remove a User (Owner Only)
To remove a user from a shared library:
- Open the Share with dialog for the library.
- Delete the user.
Delete a Shared Library (Owner Only)
WARNING
Deleting a library is irreversible. All files in the library will be permanently deleted and cannot be restored.
To delete a shared library:
- Select the More Options (...) button on the right of the Library.
- Choose Delete and confirm.
Reference
Files is built on FileBrowser and SeaFile