How to Start Developing an Application
Install and Launch DevBox
- Install DevBox from the Terminus Market.
- Find the the DevBox icon in the launcher panel on the Terminus Desktop.
- Click on the icon to launch the application.
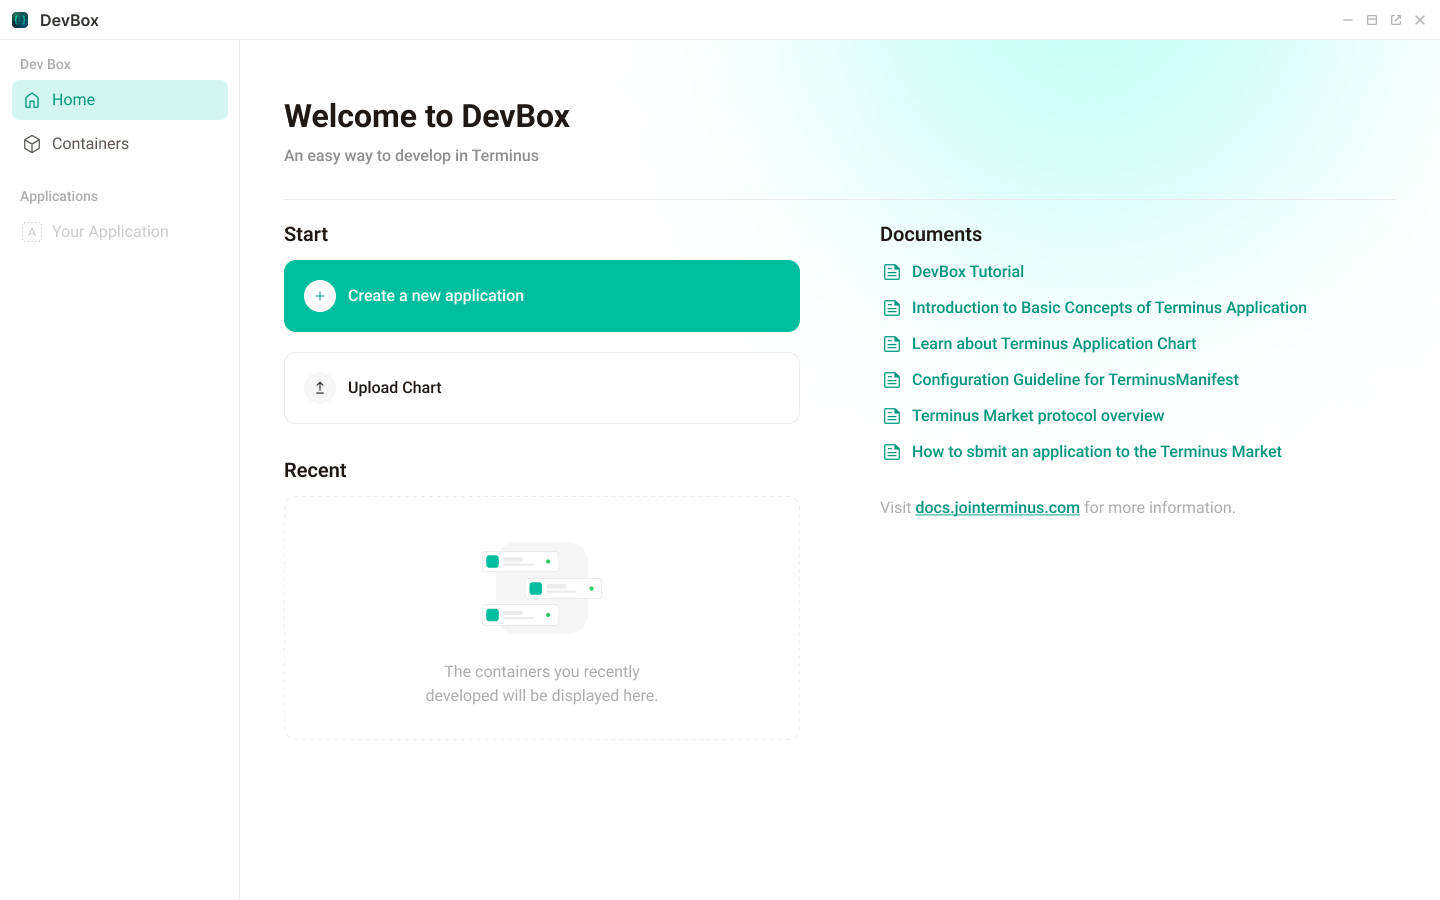
Create Your App
Click the "Create a new application" button to create a blank Terminus application from a template.
- In the
App Namefield, enter your application name. - Set the
APP typetoapp. - Change the
Main Entrance Portfor your APP entrance. - In the
Imagefield, input the image name and tag from your image repository where your app image will be stored.

Setup App Config
After creating the application, you can see the Terminus Application Chart files generated by DevBox under the Files Tab. You can add, delete, or rename various configuration files as needed.
After creating the application, you'll find the Terminus Application Chart files generated by DevBox under the 'Files' Tab. You can add, delete, or rename these configuration files as needed.
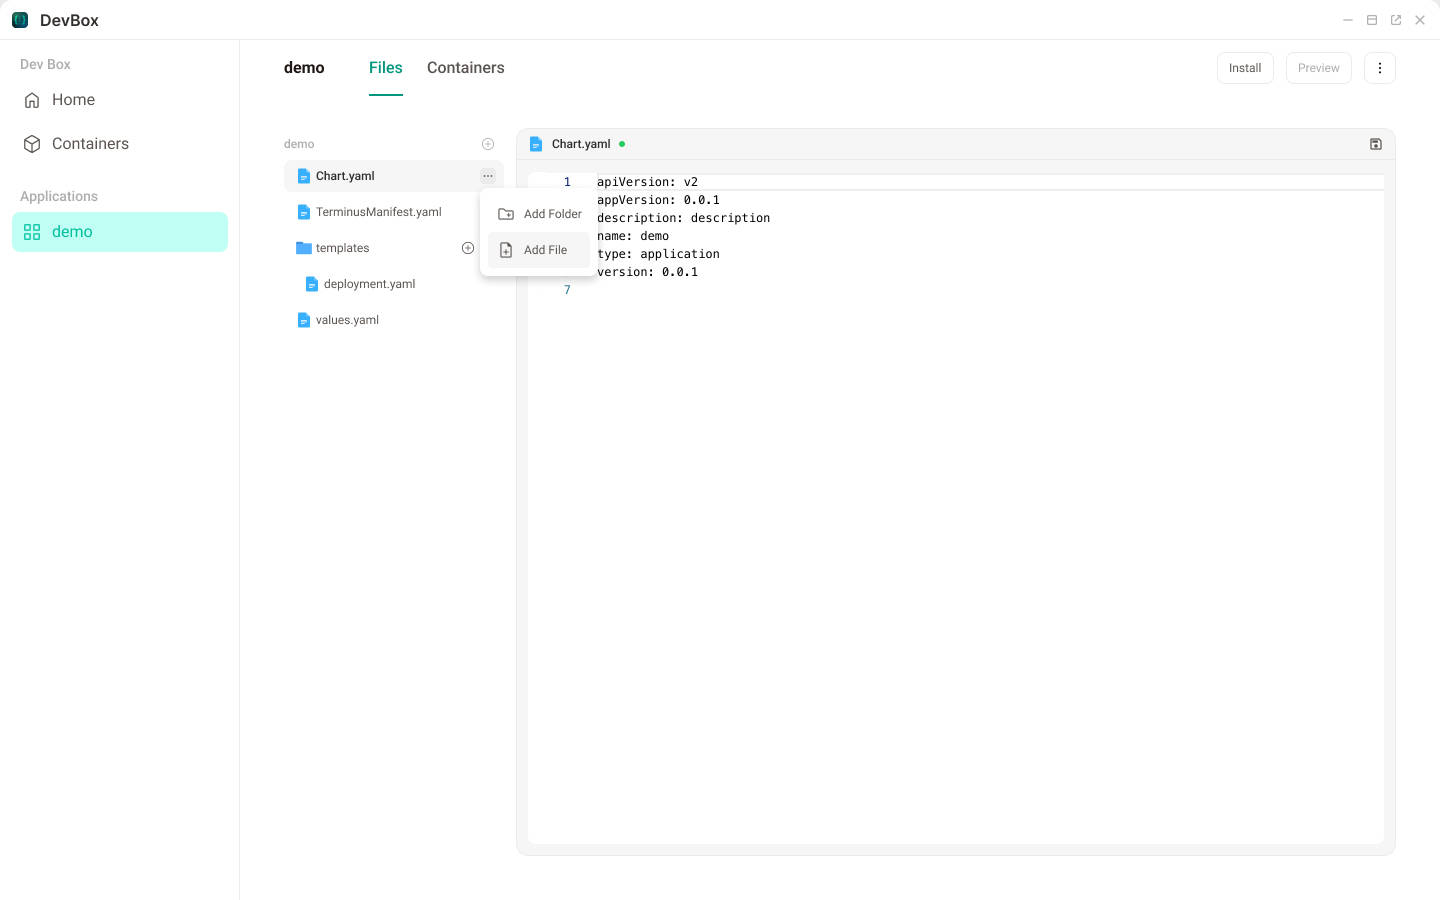
Chart.yaml
The Chart.yaml file is a required file in the Helm Chart specification. It contains the application's Name and Chart Version. You can learn more here. For now, we're not going to change the default Chart.yaml yet.
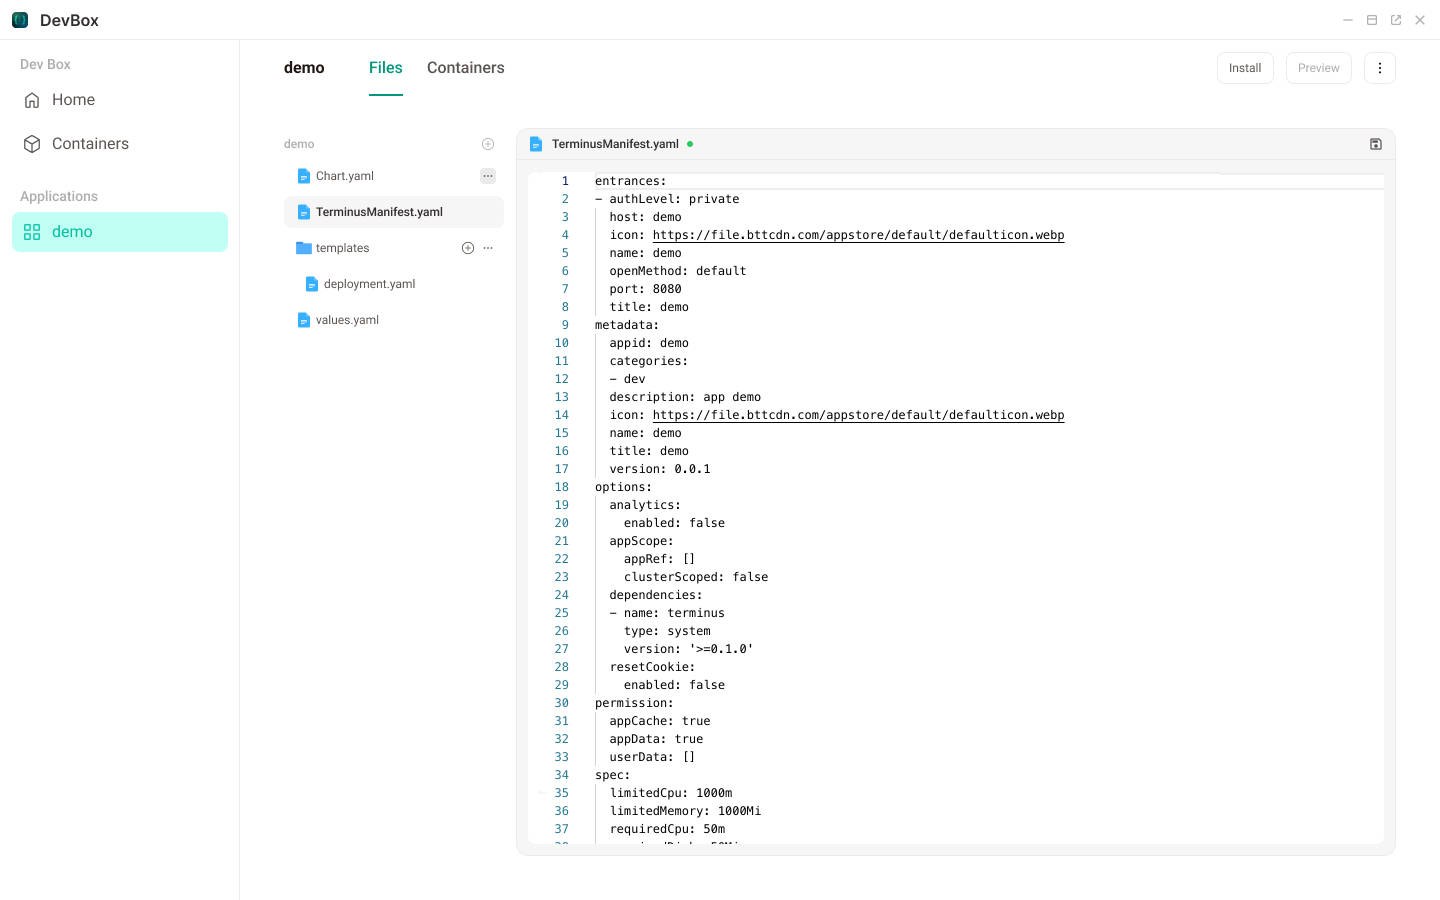
TerminusManifest.yaml
In the TerminusManifest.yaml file, you can modify various configurations of the APP, such as changing the application's title, icon, and other metadata, adding system middleware, applying for system directory access permissions, and modifying the resource limits required by the application.
In the TerminusManifest.yaml file, you can change many configurations. This includes but is not limited to:
- Changing the app's title, icon, and other details
- Adding system
middleware - Getting
permissionsfor system directory access - Changing the
required and limited resourceof the app
Adding a cluster database middleware
In this example, we will configure a PostgreSQL database. Add the following content to the configuration file:
middleware:
  postgres:
    username: postgres
    databases:
    - name: db
      distributed: false
You can specify your database username and password in the configuration. Alternatively, you can leave these fields empty and use the system-generated random password instead. You need to set the database name required by your APP. In addition, you can also choose to apply for a distributed database. If so, the system will create a citus database for you.
After completing the configuration, you can reference the corresponding database configuration in your deployment.yaml. For example, reference in the environment variables of the container.
- env:
    - name: DB_PORT
      value: "{{ .Values.postgres.port }}"
    - name: DB_NAME
      value: "{{ .Values.postgres.databases.demo }}"
    - name: DB_USER
      value: "{{ .Values.postgres.username }}"
    - name: DB_HOST
      value: "{{ .Values.postgres.host }}"
    - name: DB_PWD
value: "{{ .Values.postgres.password }}".Values.postgres.username: theusernameof PostgreSQL in configuration..Values.postgres.databases.demo: thedatabase namein configuration..Values.postgres.password: thepasswordin configuration..Values.postgres.host: the database service address specified by the system for the APP..Values.postgres.port: the database service port specified by the system for the APP.
WARNING
These parameters should not be hardcoded, they must reference the variables passed in by the system, and the system will randomize the database information in the configuration.
Adding Access Permissions to the File System
To read and save files in the Terminus system, we need to configure Access Permissions for certain file directories. These directories can be specified in the Permissions section of the TerminusManifest.yaml file:
appData: This applies for independent cloud storage space for the app.appCache: This applies for local disk data cache space, usually on an SSD disk, for the app.userData: This applies for access permission to the user's data directory. List the directories you need to access here.
After completing the above configuration, you can reference these configurations in your deployment
After completing the above configurations, you can refer to them in your deployment.
  volumes:
    - hostPath:
        path: "{{ .Values.userspace.appCache }}/demo"
        type: DirectoryOrCreate
      name: appcache
    - hostPath:
        path: "{{ .Values.userspace.appData }}/demo"
        type: DirectoryOrCreate
name: appdata.Values.userspace.appCacheis theappCachedirectory.Values.userspace.appDatais theappDatadirectory.Values.userspace.userDatais theuserDatadirectory
deployment.yaml
The deployment.yaml in the templates folder details the deployment configuration of your application.
If your app includes several containers, such as front-end and back-end, you can add multiple containers in the deployment.yaml file in the templates. DevBox will recognize these different containers and bind each of them separately to different development containers. For instance:
containers:
  # front-end container
  - env:
      - name: PGID
        value: "1000"
      - name: PUID
        value: "1000"
      - name: TZ
        value: Etc/UTC
    image: bytetrade/demo-app:0.0.1
    name: demo
    ports:
      - containerPort: 8080
    resources:
      limits:
        cpu: "1"
        memory: 2000Mi
      requests:
        cpu: 50m
        memory: 1000Mi
    volumeMounts:
      - mountPath: /appcache
        name: appcache

  # Server container
  - env:
      - name: DB_PORT
        value: "{{ .Values.postgres.port }}"
      - name: DB_NAME
        value: "{{ .Values.postgres.databases.demo }}"
      - name: DB_USER
        value: "{{ .Values.postgres.username }}"
      - name: DB_HOST
        value: "{{ .Values.postgres.host }}"
      - name: DB_PWD
        value: "{{ .Values.postgres.password }}"
      - name: PGID
        value: "1000"
      - name: PUID
        value: "1000"
      - name: TZ
        value: Etc/UTC
    image: bytetrade/demo-server:0.0.1
    name: server
    ports:
      - containerPort: 9000
    resources:
      limits:
        cpu: "1"
        memory: 1000Mi
      requests:
        cpu: 50m
        memory: 500Mi
    volumeMounts:
      - mountPath: /appcache
        name: appcache
      - mountPath: /appdata
        name: appdata
Bind Container
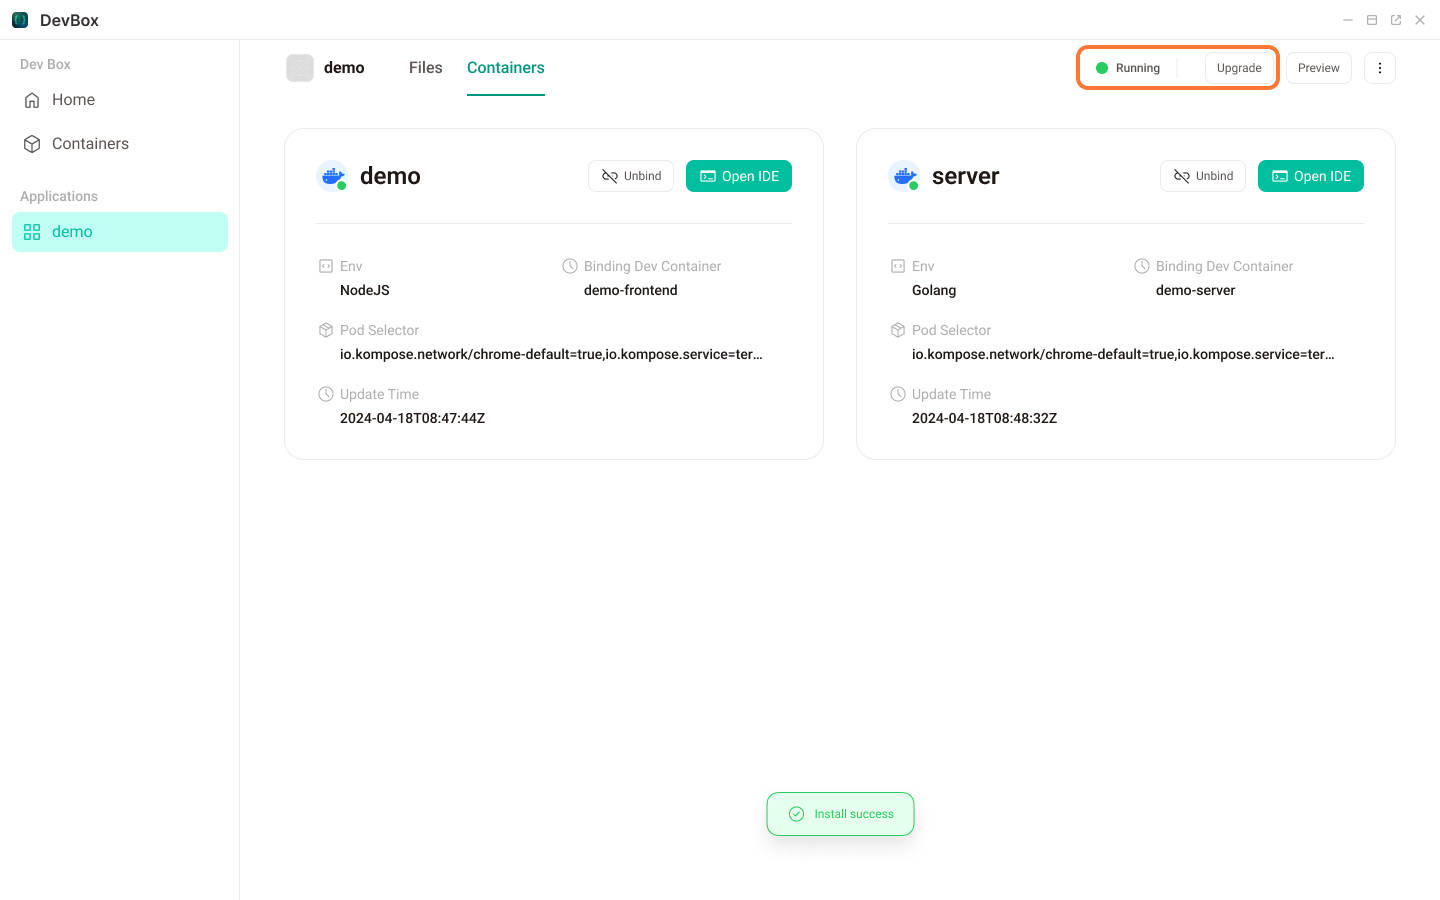
After configuring the above details, navigate to the 'Containers' page to bind the development container(Dev Container) for this app. Once done, you can start coding.
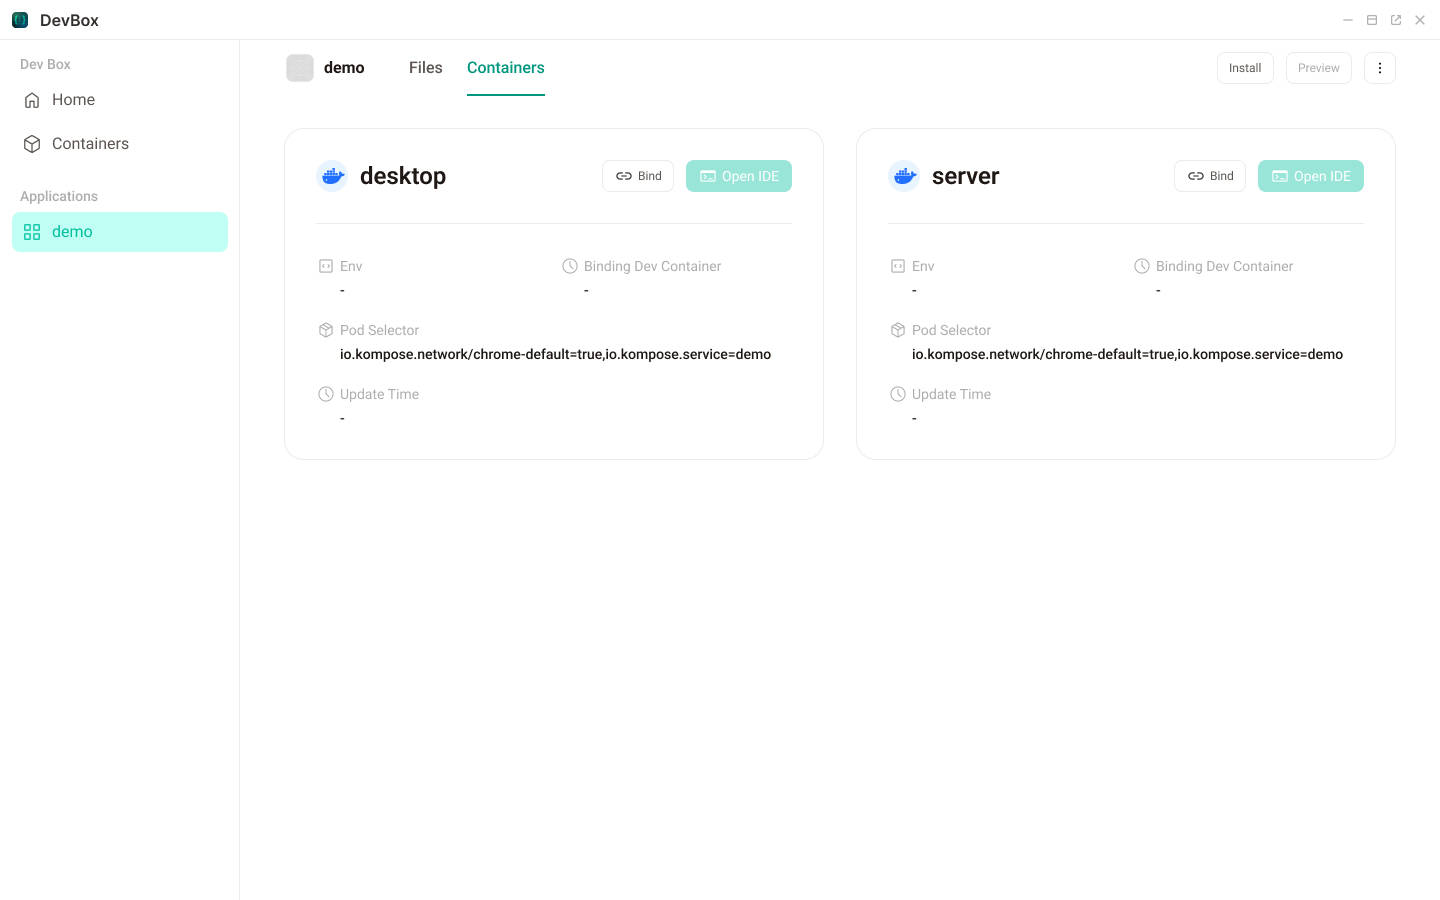
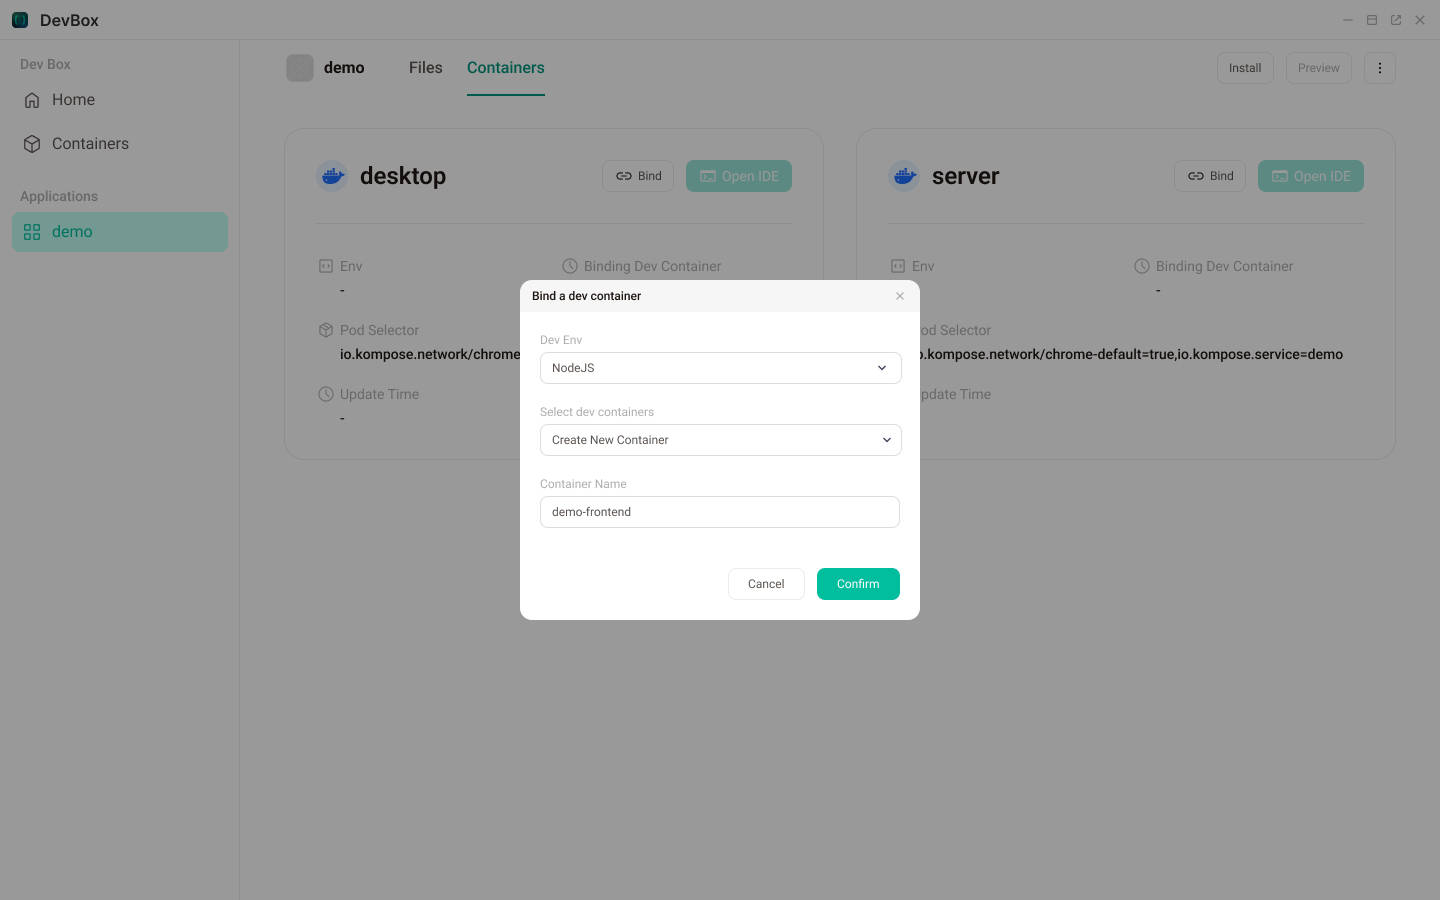
You can set a specified development environment for the bound Dev Container. Currently, DevBox supports NodeJS, Golang, and Python Dev Container. Let's bind a NodeJS Dev Container to the demo frontend container and a Golang Dev Container to the server container.
We create a new Dev Container here. If you have previously created an unbound Dev Container, you can also choose an existing container for binding here.
Install App
After binding the Dev Container, click 'Install' in the upper right corner to install the development app into the system. Once the installation status shifts from Processing to Running, it indicates that the app is installed and ready for coding.
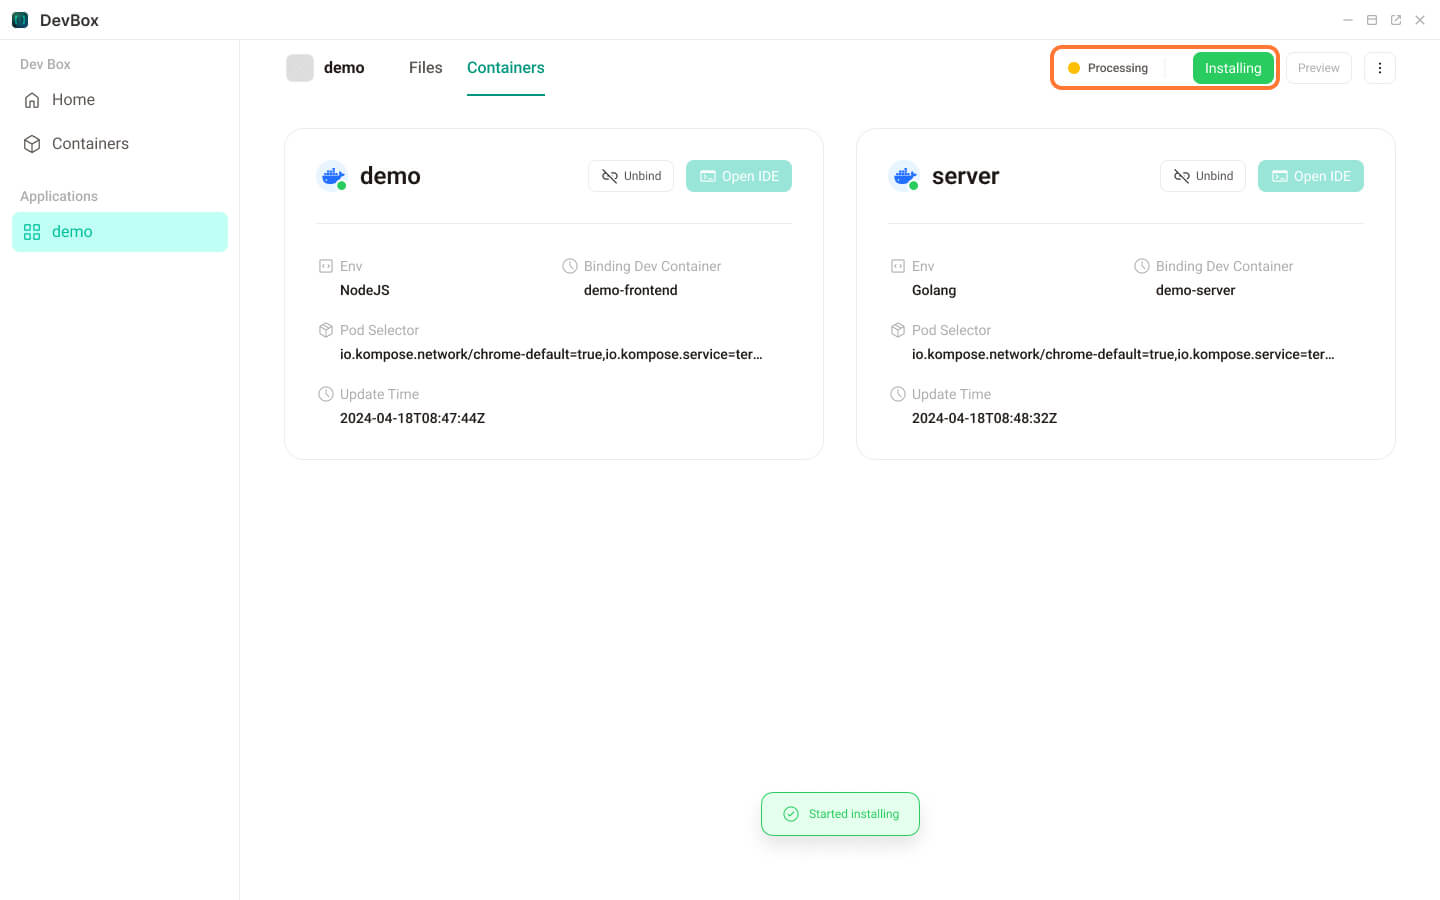
Then, navigate back to the 'Containers' page. You'll notice that the 'Open IDE button' is now enabled. Press this button to access the Dev Container and begin coding in the actual environment.